
As an Amazon Associate I earn from qualifying purchases.

In this article, we’ll dive deep into the process of how to knead pizza dough, explore its importance, and offer you a step-by-step guide to perfecting your kneading skills.
Pizza is one of the world’s most beloved dishes, and its dough forms the foundation of any great pizza.
To make truly amazing pizza, the key is understanding how to knead dough for pizza properly.
Kneading dough might seem like a simple task, but it involves a precise technique that affects the texture, flavor, and overall quality of the pizza crust.
The Importance of Kneading Dough for Pizza
Kneading dough is a critical step in making pizza. It develops the gluten, which gives the dough structure, elasticity, and chewiness. When kneading dough for pizza, you’re not just mixing ingredients. You’re creating a texture that will ensure your pizza crust rises properly and bakes evenly. Proper kneading helps the dough retain air pockets, resulting in a light and airy texture when baked.
Additionally, kneading evenly distributes the yeast throughout the dough, promoting an even rise. This helps avoid under or over-risen areas of the pizza, ensuring a consistent texture across the entire crust. So, when you’re learning how to knead dough for pizza, keep in mind that this process directly affects your pizza’s flavor and texture.
Guide Summary


This table offers a concise summary of the key points related to pizza dough preparation, troubleshooting, and tips to enhance your pizza-making process.
| Topic | Details |
|---|---|
| Flour Type | Use high-gluten or bread flour for a chewier crust. All-purpose flour works fine but might yield a softer dough. |
| Water Temperature | Warm water (110°F/45°C) is ideal for activating yeast. Too hot can kill the yeast; too cold can slow activation. |
| Yeast | Use active dry yeast or instant yeast. Instant yeast can be mixed directly into the flour without being activated in water. |
| Stand Mixer Option | If using a stand mixer, use the dough hook attachment and knead for about 5-7 minutes on low to medium speed. The dough should form a ball and pull away from the sides of the bowl. |
| Kneading Time | Knead dough for about 8 to 10 minutes until smooth and elastic. Overkneading can make the dough tough. |
| Rising Time | Allow the dough to rise for 1 to 1.5 hours in a warm place until it doubles in size. |
| Dough Resting Temperature | A warm, draft-free area is ideal (around 75°F/24°C). You can use your oven with the light on or a warm countertop. |
| Dough Consistency | The dough should be soft, smooth, and slightly tacky but not sticky. Add flour or water in small increments to adjust texture. |
| Common Mistakes | 1. Dough too sticky: Add more flour, but in small amounts. 2. Dough too dry: Add a little water until the texture becomes smooth. |
| How to Test for Kneading | Perform the “windowpane test”: Stretch a small piece of dough between your fingers. If it forms a thin, translucent membrane without tearing, it’s ready. |
| How to Store Dough | Refrigerate pizza dough after the first rise if you want to store it for up to 3 days. You can also freeze it for up to 3 months. |
| Pizza Stone vs. Baking Sheet | A pizza stone retains heat better and gives a crispier crust. A baking sheet is convenient but doesn’t yield the same texture. |
| Ideal Pizza Dough Thickness | For a chewy, traditional crust, roll or stretch the dough to ¼-inch thickness. Adjust based on personal preference. |
| Topping Tips | Avoid overloading the pizza with toppings to prevent a soggy crust. Keep toppings thin and evenly distributed. |
Ingredients for Pizza Dough
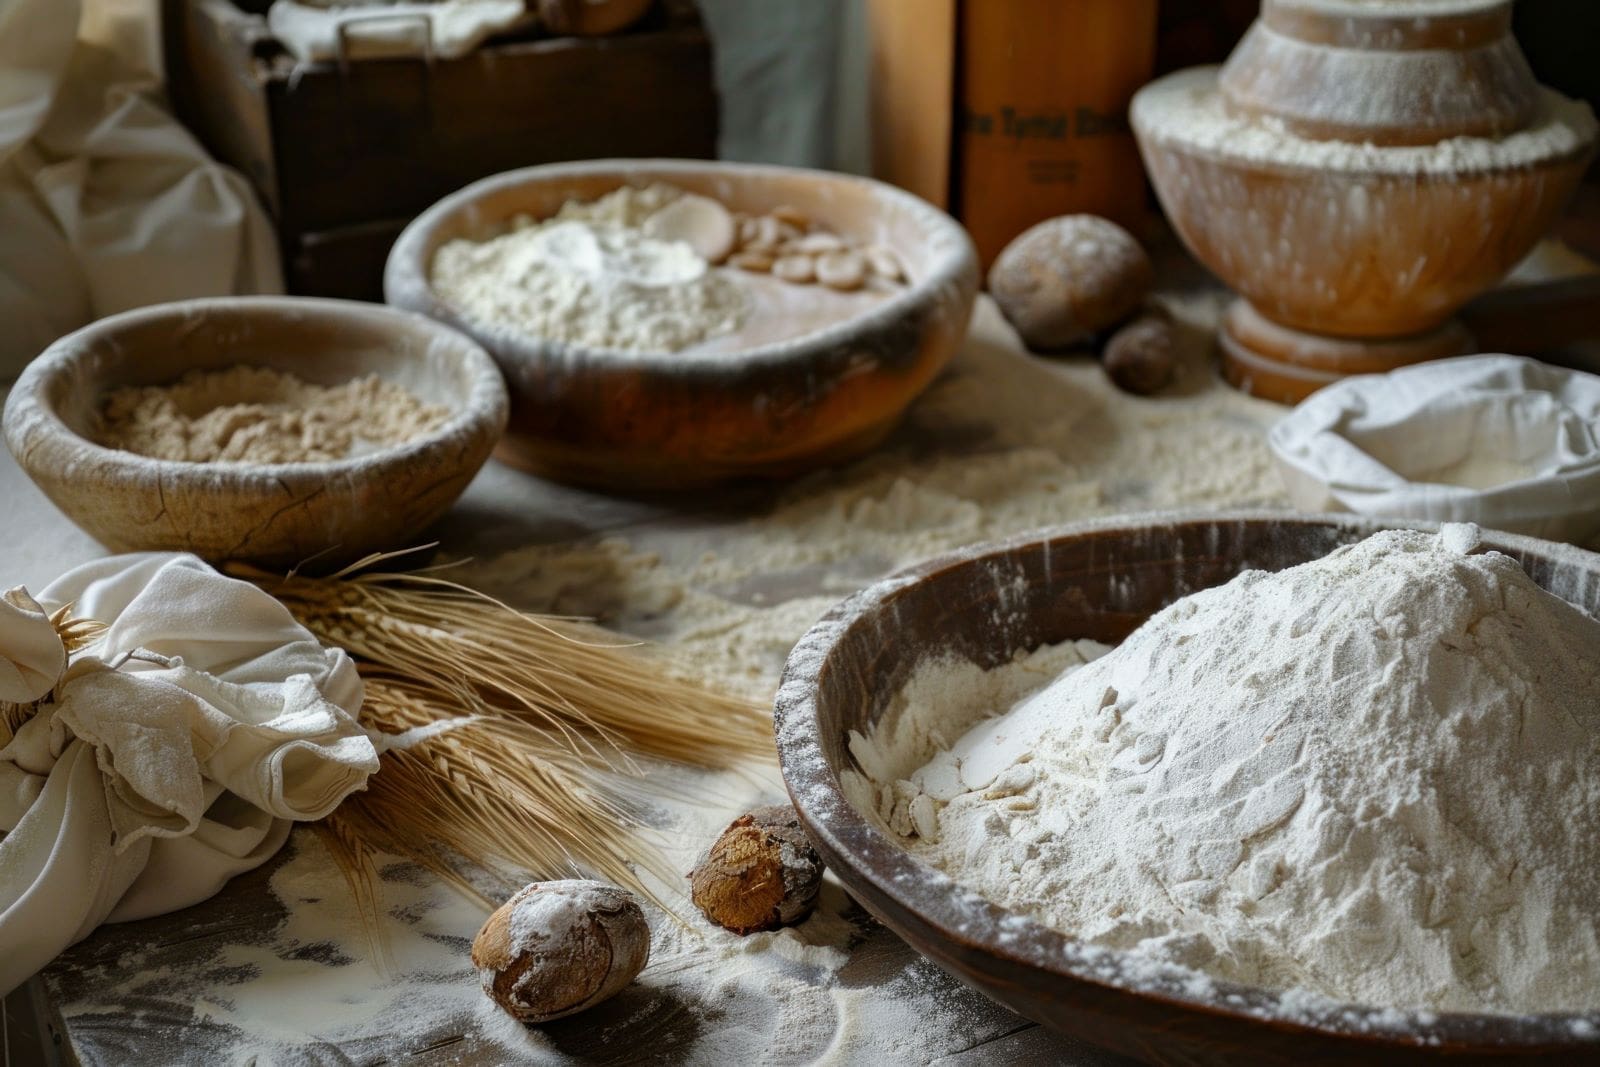
Before diving into the kneading process, it’s essential to gather the right ingredients. Here’s a basic list of ingredients required to make pizza dough:
- 4 cups of all-purpose flour (preferably high-gluten flour for better elasticity)
- 1 tablespoon of olive oil (for smoothness and flavor)
- 1 teaspoon of salt (to enhance taste)
- 1 teaspoon of sugar (to activate yeast)
- 1 packet of dry yeast (or 2 ¼ teaspoons)
- 1 ½ cups of warm water (around 110°F)
- A pinch of flour for dusting (to prevent sticking during kneading)
With these ingredients, you’re all set to begin learning how to knead dough for pizza. Let’s look at the step-by-step kneading process.
Instructions
Step 1: Activate the Yeast
The first step in kneading dough for pizza is to activate the yeast. In a small bowl, combine the warm water and sugar. Stir them together to dissolve the sugar, then sprinkle the dry yeast over the surface of the water. Let it sit for about 5 to 10 minutes. The yeast will begin to foam and bubble, indicating that it’s alive and ready to go.
If your yeast does not foam, it may have expired, or the water temperature might have been too hot or cold. In such cases, start over with fresh yeast and warm water at the right temperature (around 110°F).
Step 2: Mix the Ingredients
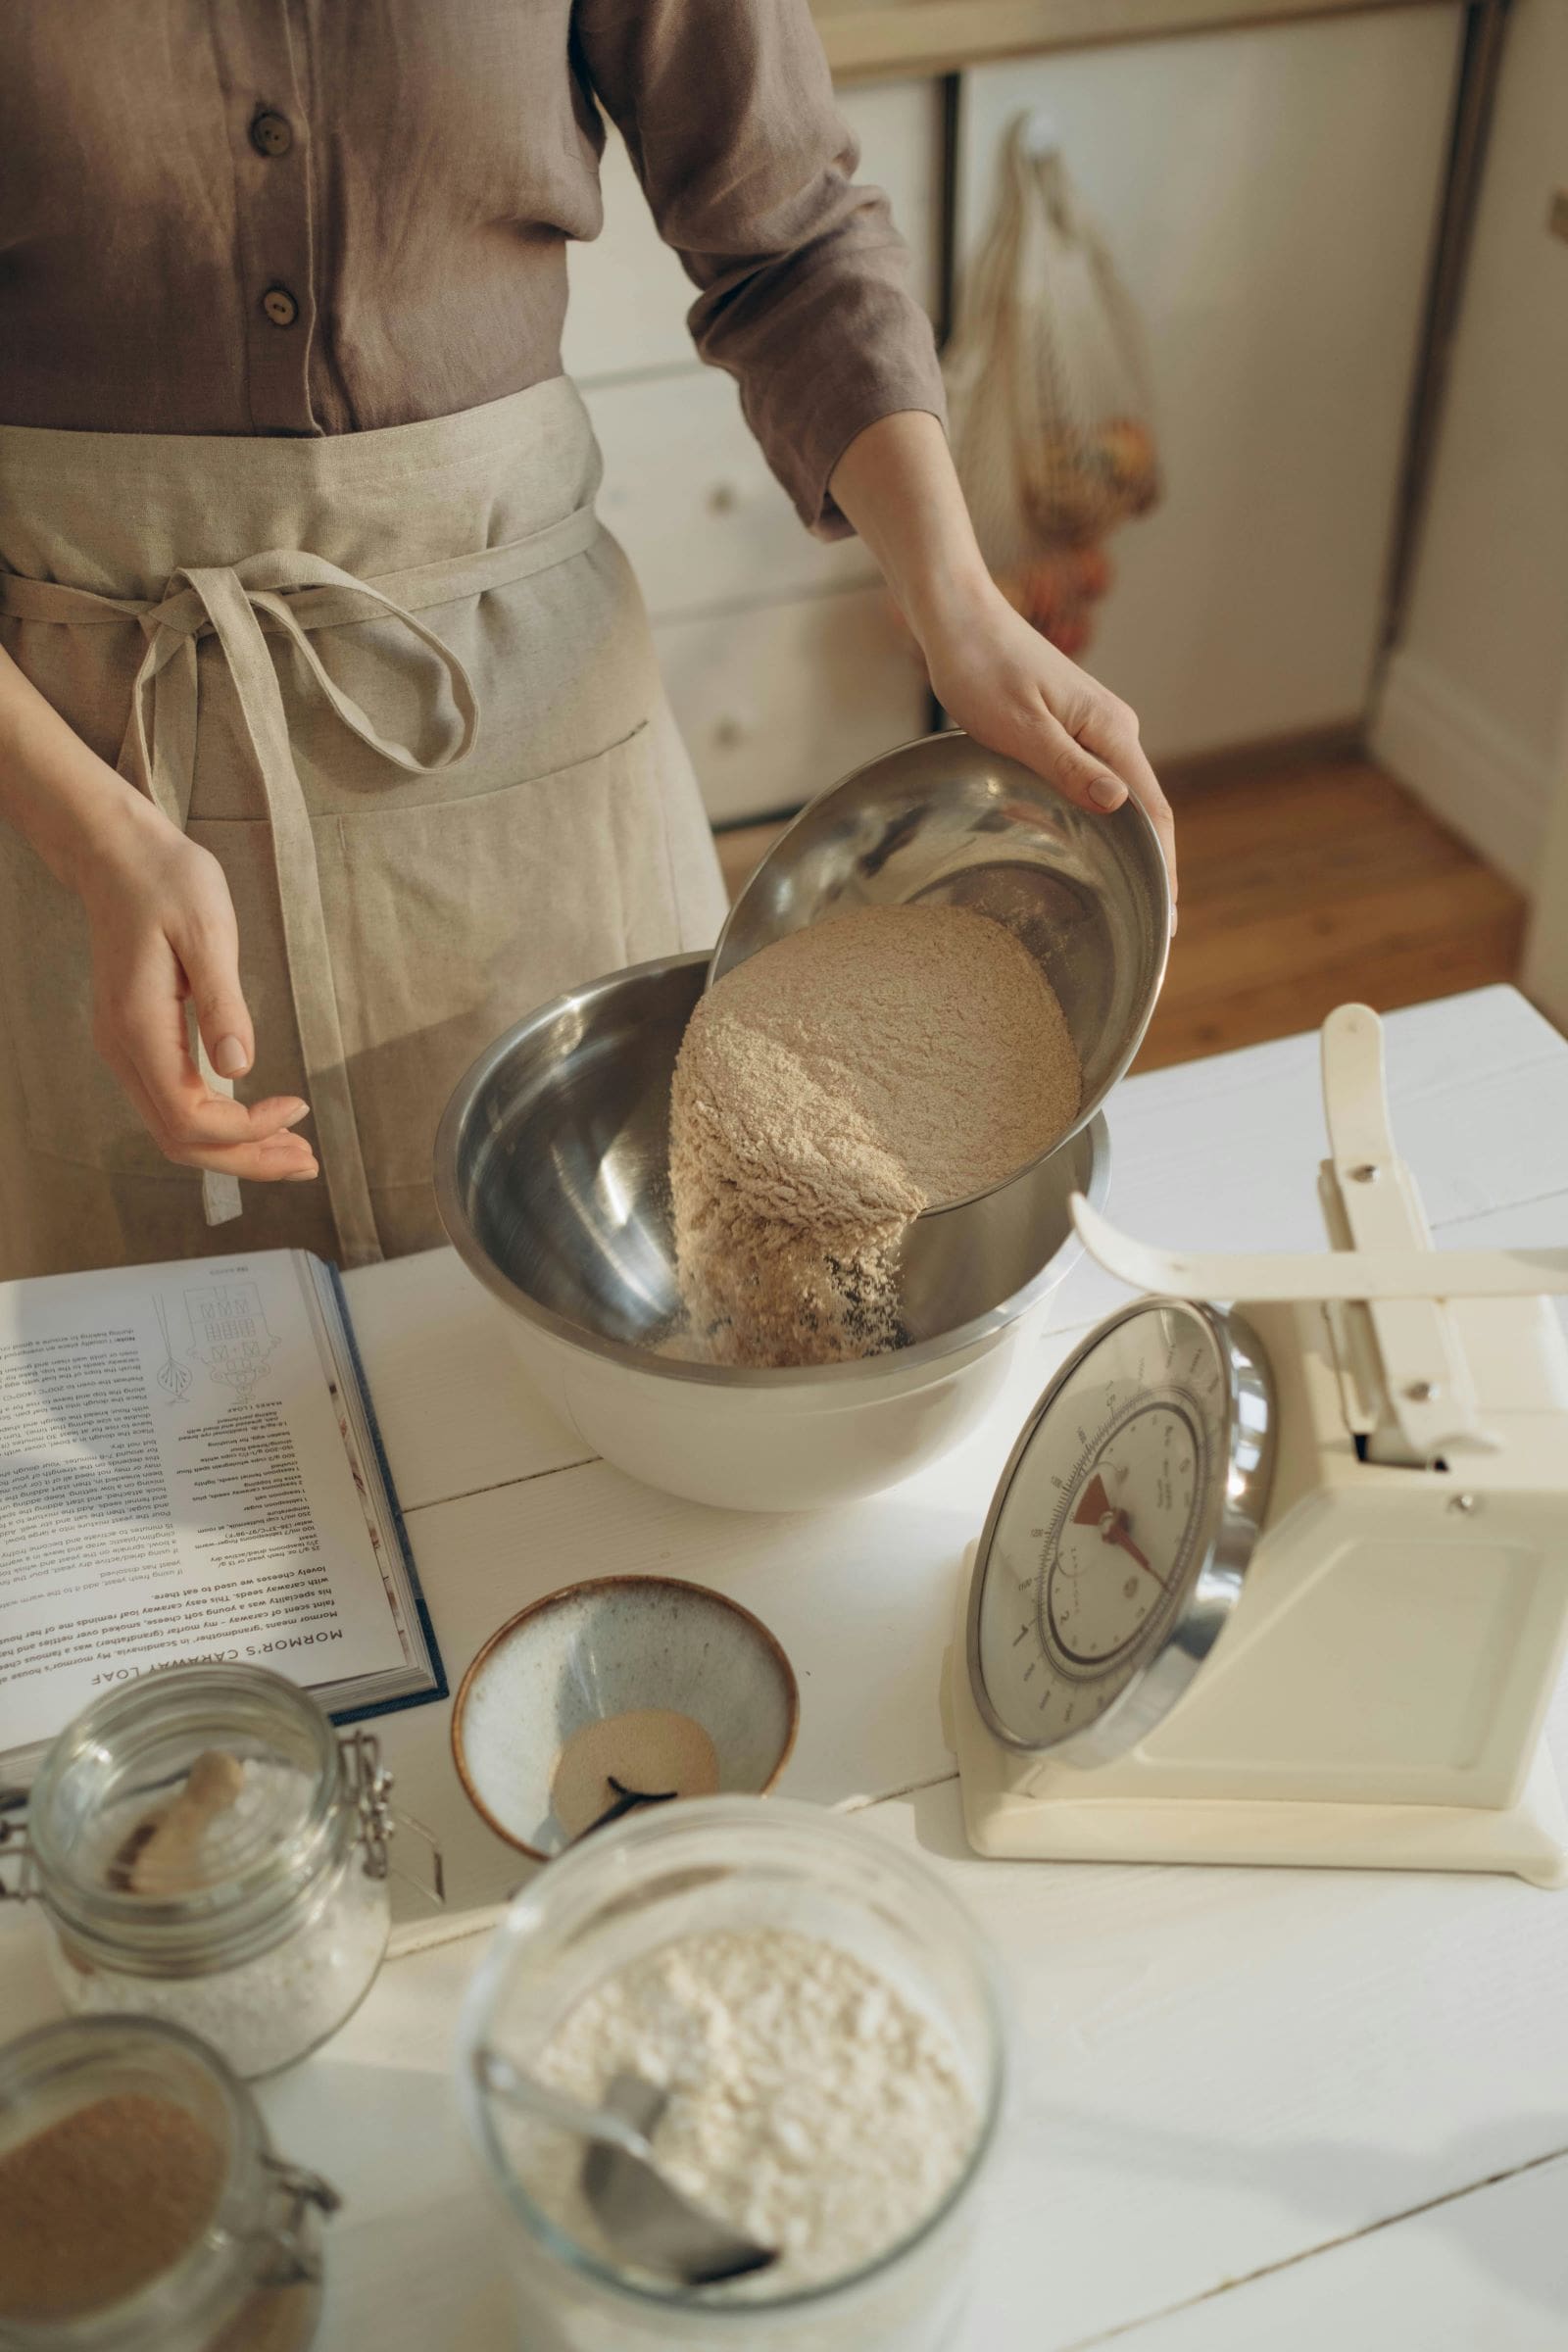
Now that the yeast is activated, it’s time to mix the ingredients. In a large mixing bowl, combine the flour and salt. Make a well in the center of the flour and pour in the activated yeast mixture and olive oil. Stir the ingredients together with a spoon until the mixture begins to come together.
Once the ingredients are well combined, you will notice the dough starting to form. At this point, it’s time to transfer the dough to a clean, floured surface for kneading. If the dough feels too sticky, add a little more flour, but be careful not to add too much. A slightly sticky dough is easier to knead and yields a better result.
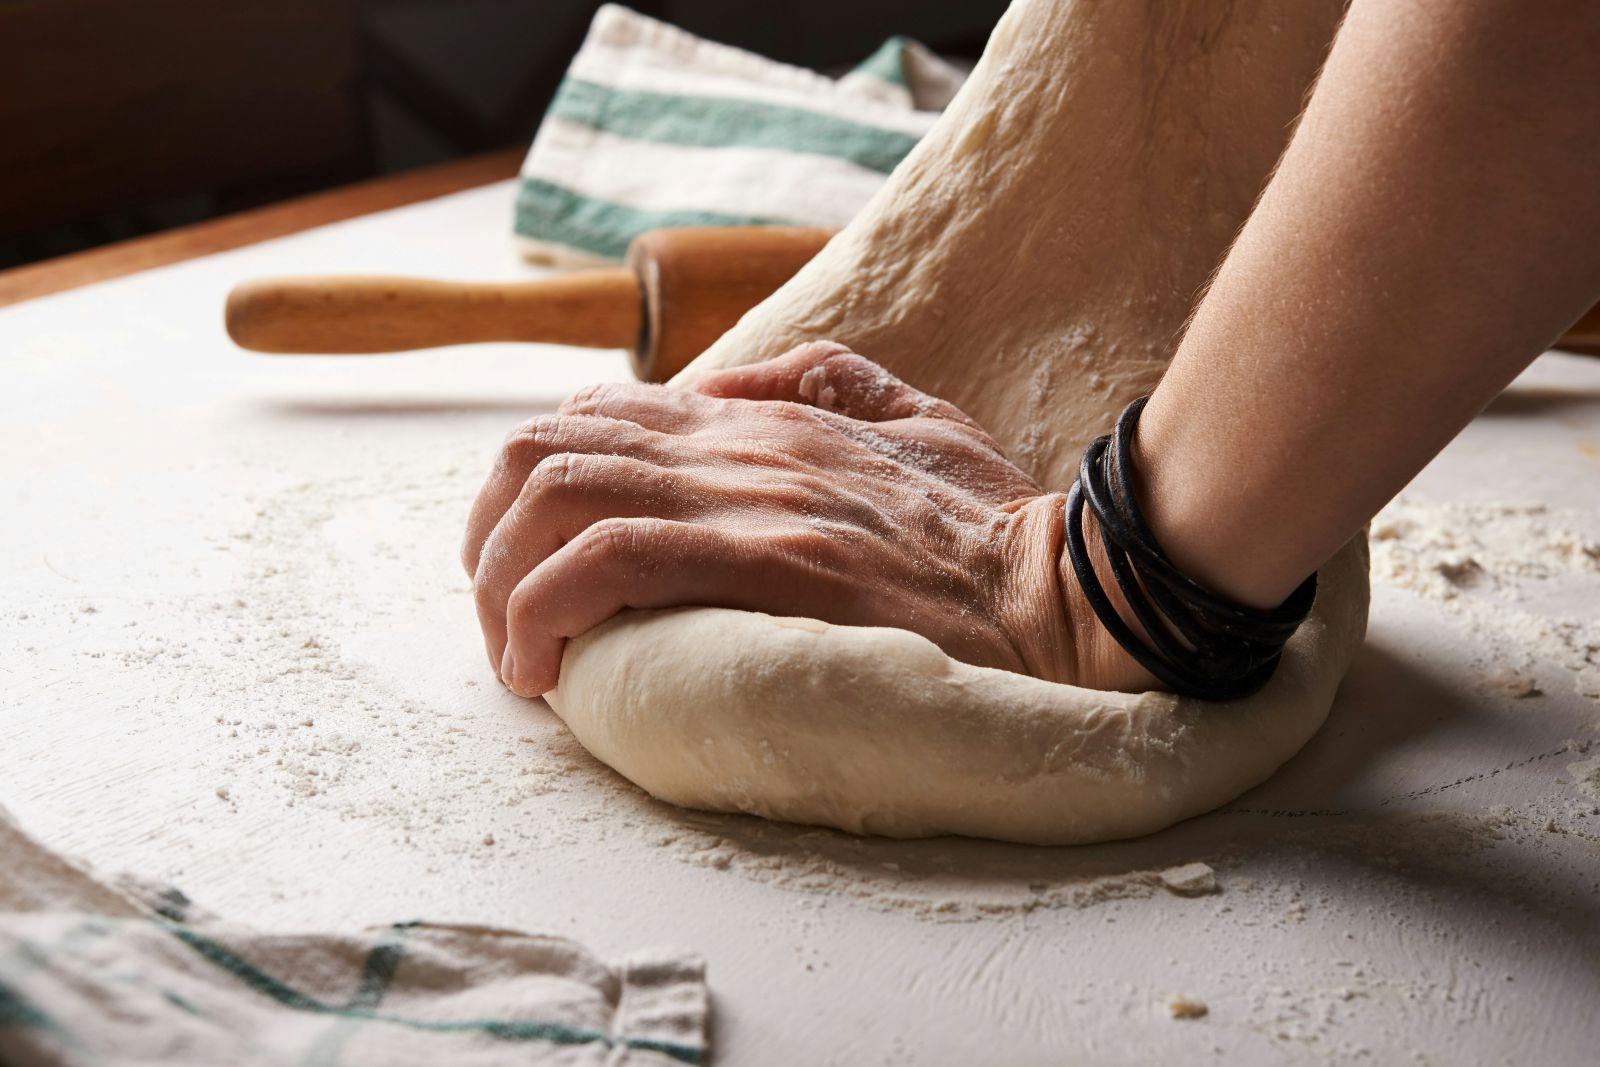
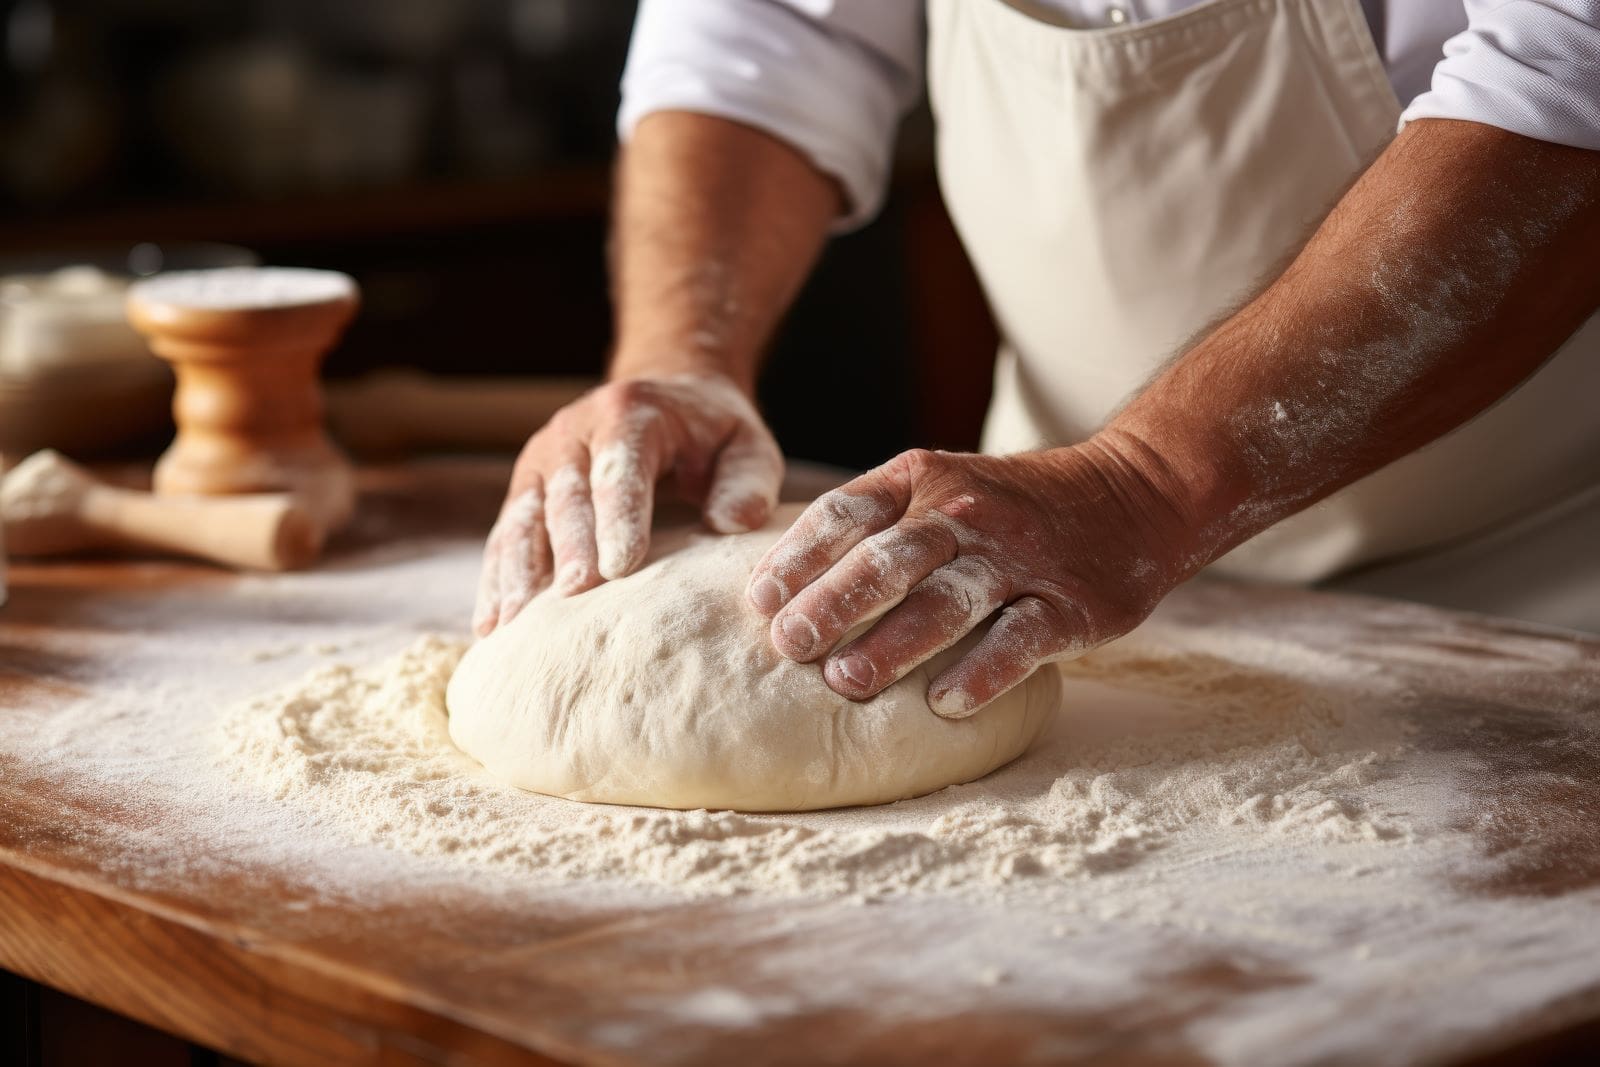
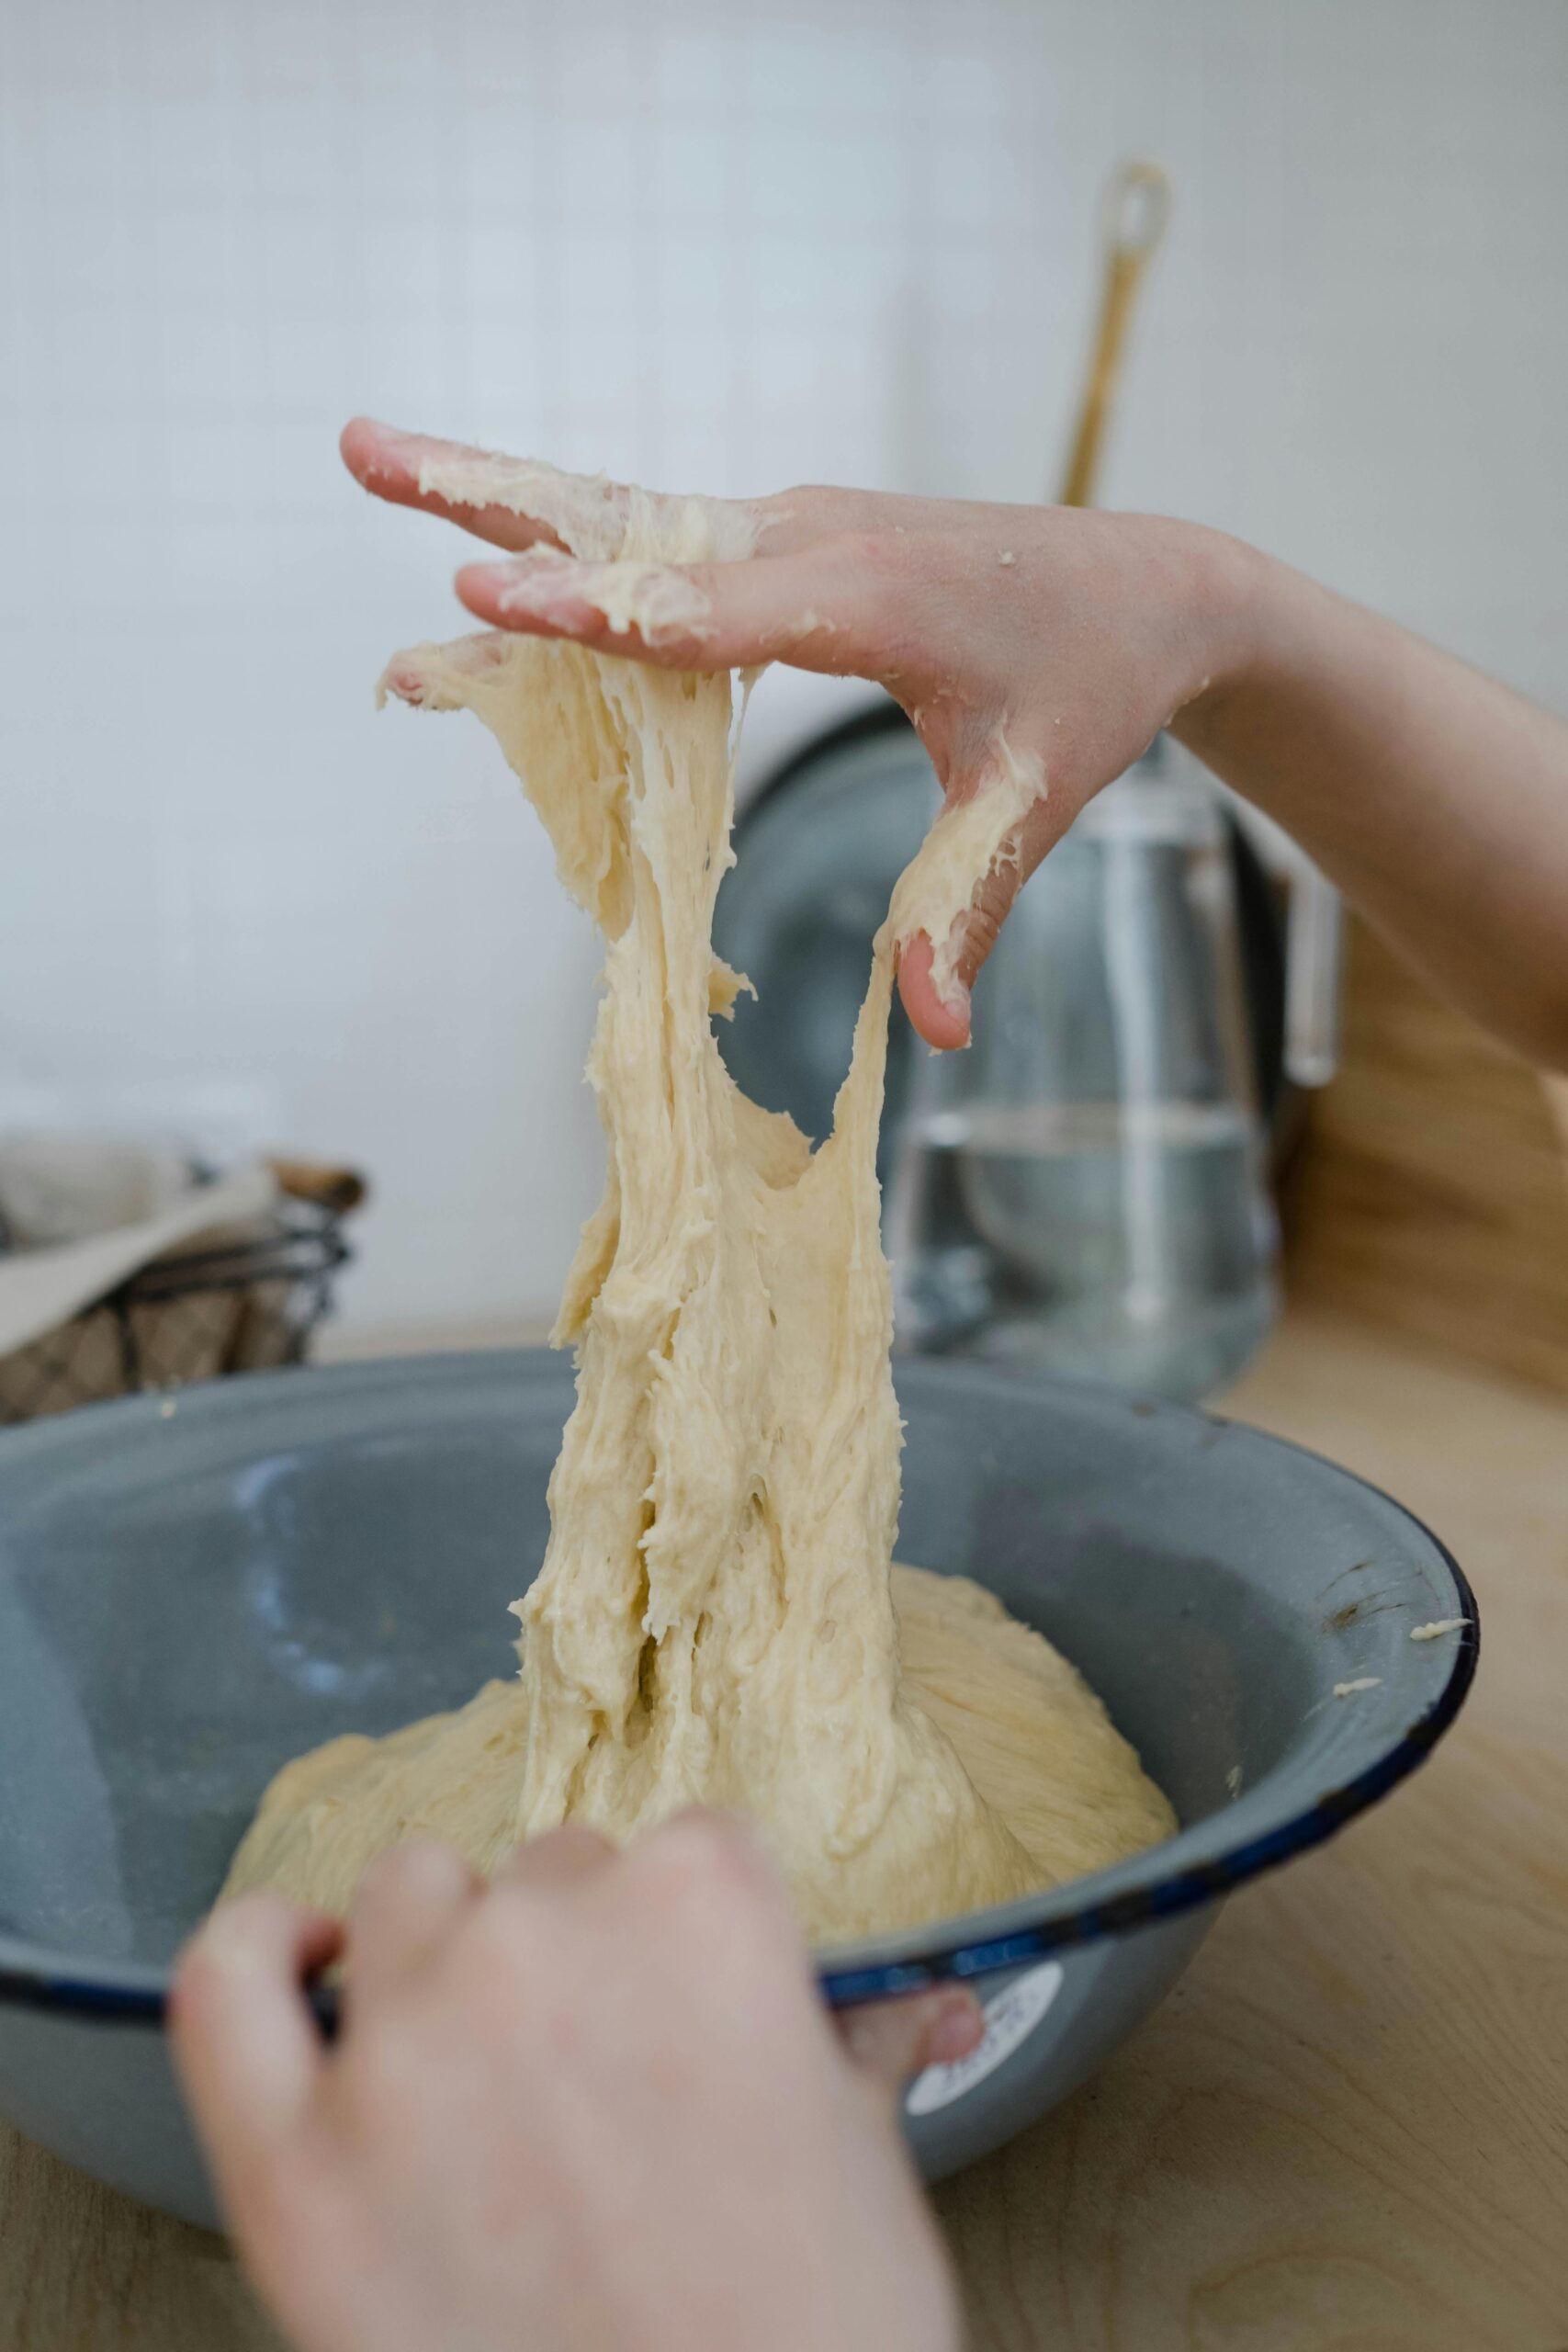
Step 3: Kneading the Dough
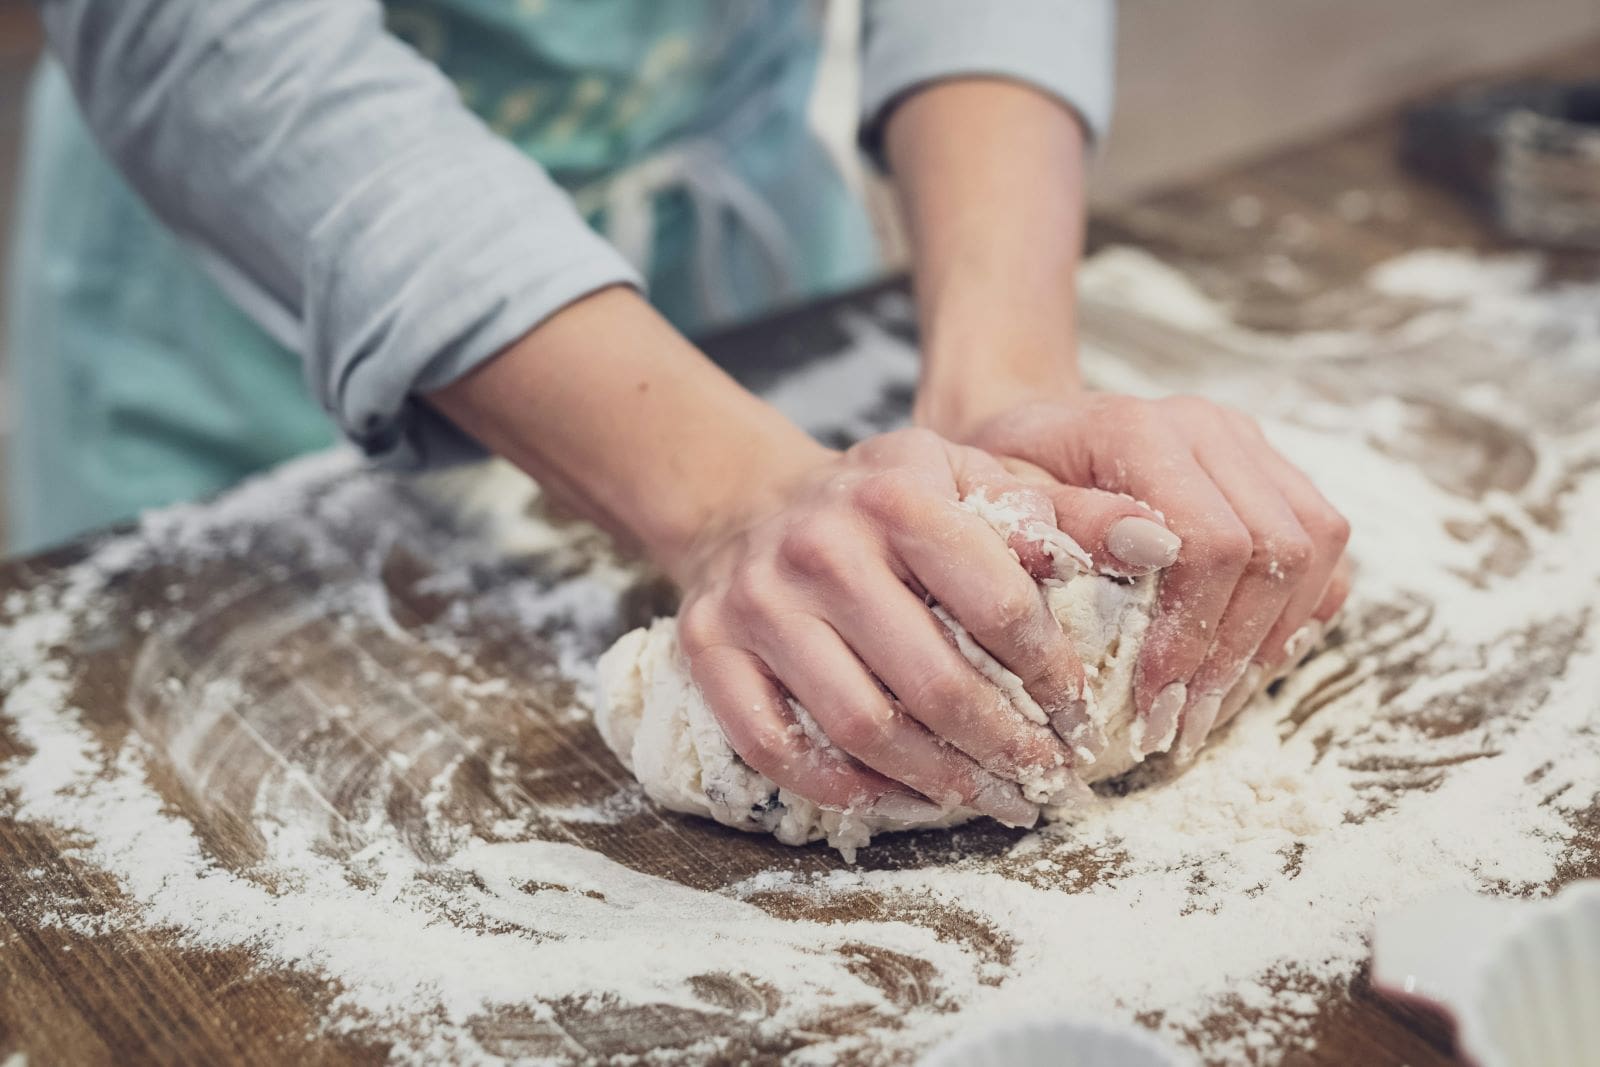
This is the step that will really determine the texture of your pizza crust. Kneading dough for pizza is about building the structure of the dough and creating elasticity. Start by pushing the dough forward with the heels of your hands, then fold it back over itself. Turn the dough 90 degrees, then repeat the process. This motion is called the “push, fold, turn” method.
The key to kneading is consistency. As you work the dough, you’ll feel it becoming more elastic and smoother over time. The dough should begin to resist a bit as you knead. This resistance is a sign that the gluten is developing and the dough is becoming more structured.
TOP TIP:
If you prefer a more hands-off approach, you can use a stand mixer equipped with a dough hook. Simply combine all of your ingredients in the mixer’s bowl and mix on low speed for about 5-7 minutes. The dough will start to pull away from the sides of the bowl, and you’ll notice it becoming smooth and elastic. Using a stand mixer is a great way to save time and energy, especially if you’re making large batches of dough. Just be careful not to overmix, as this can lead to tough dough.
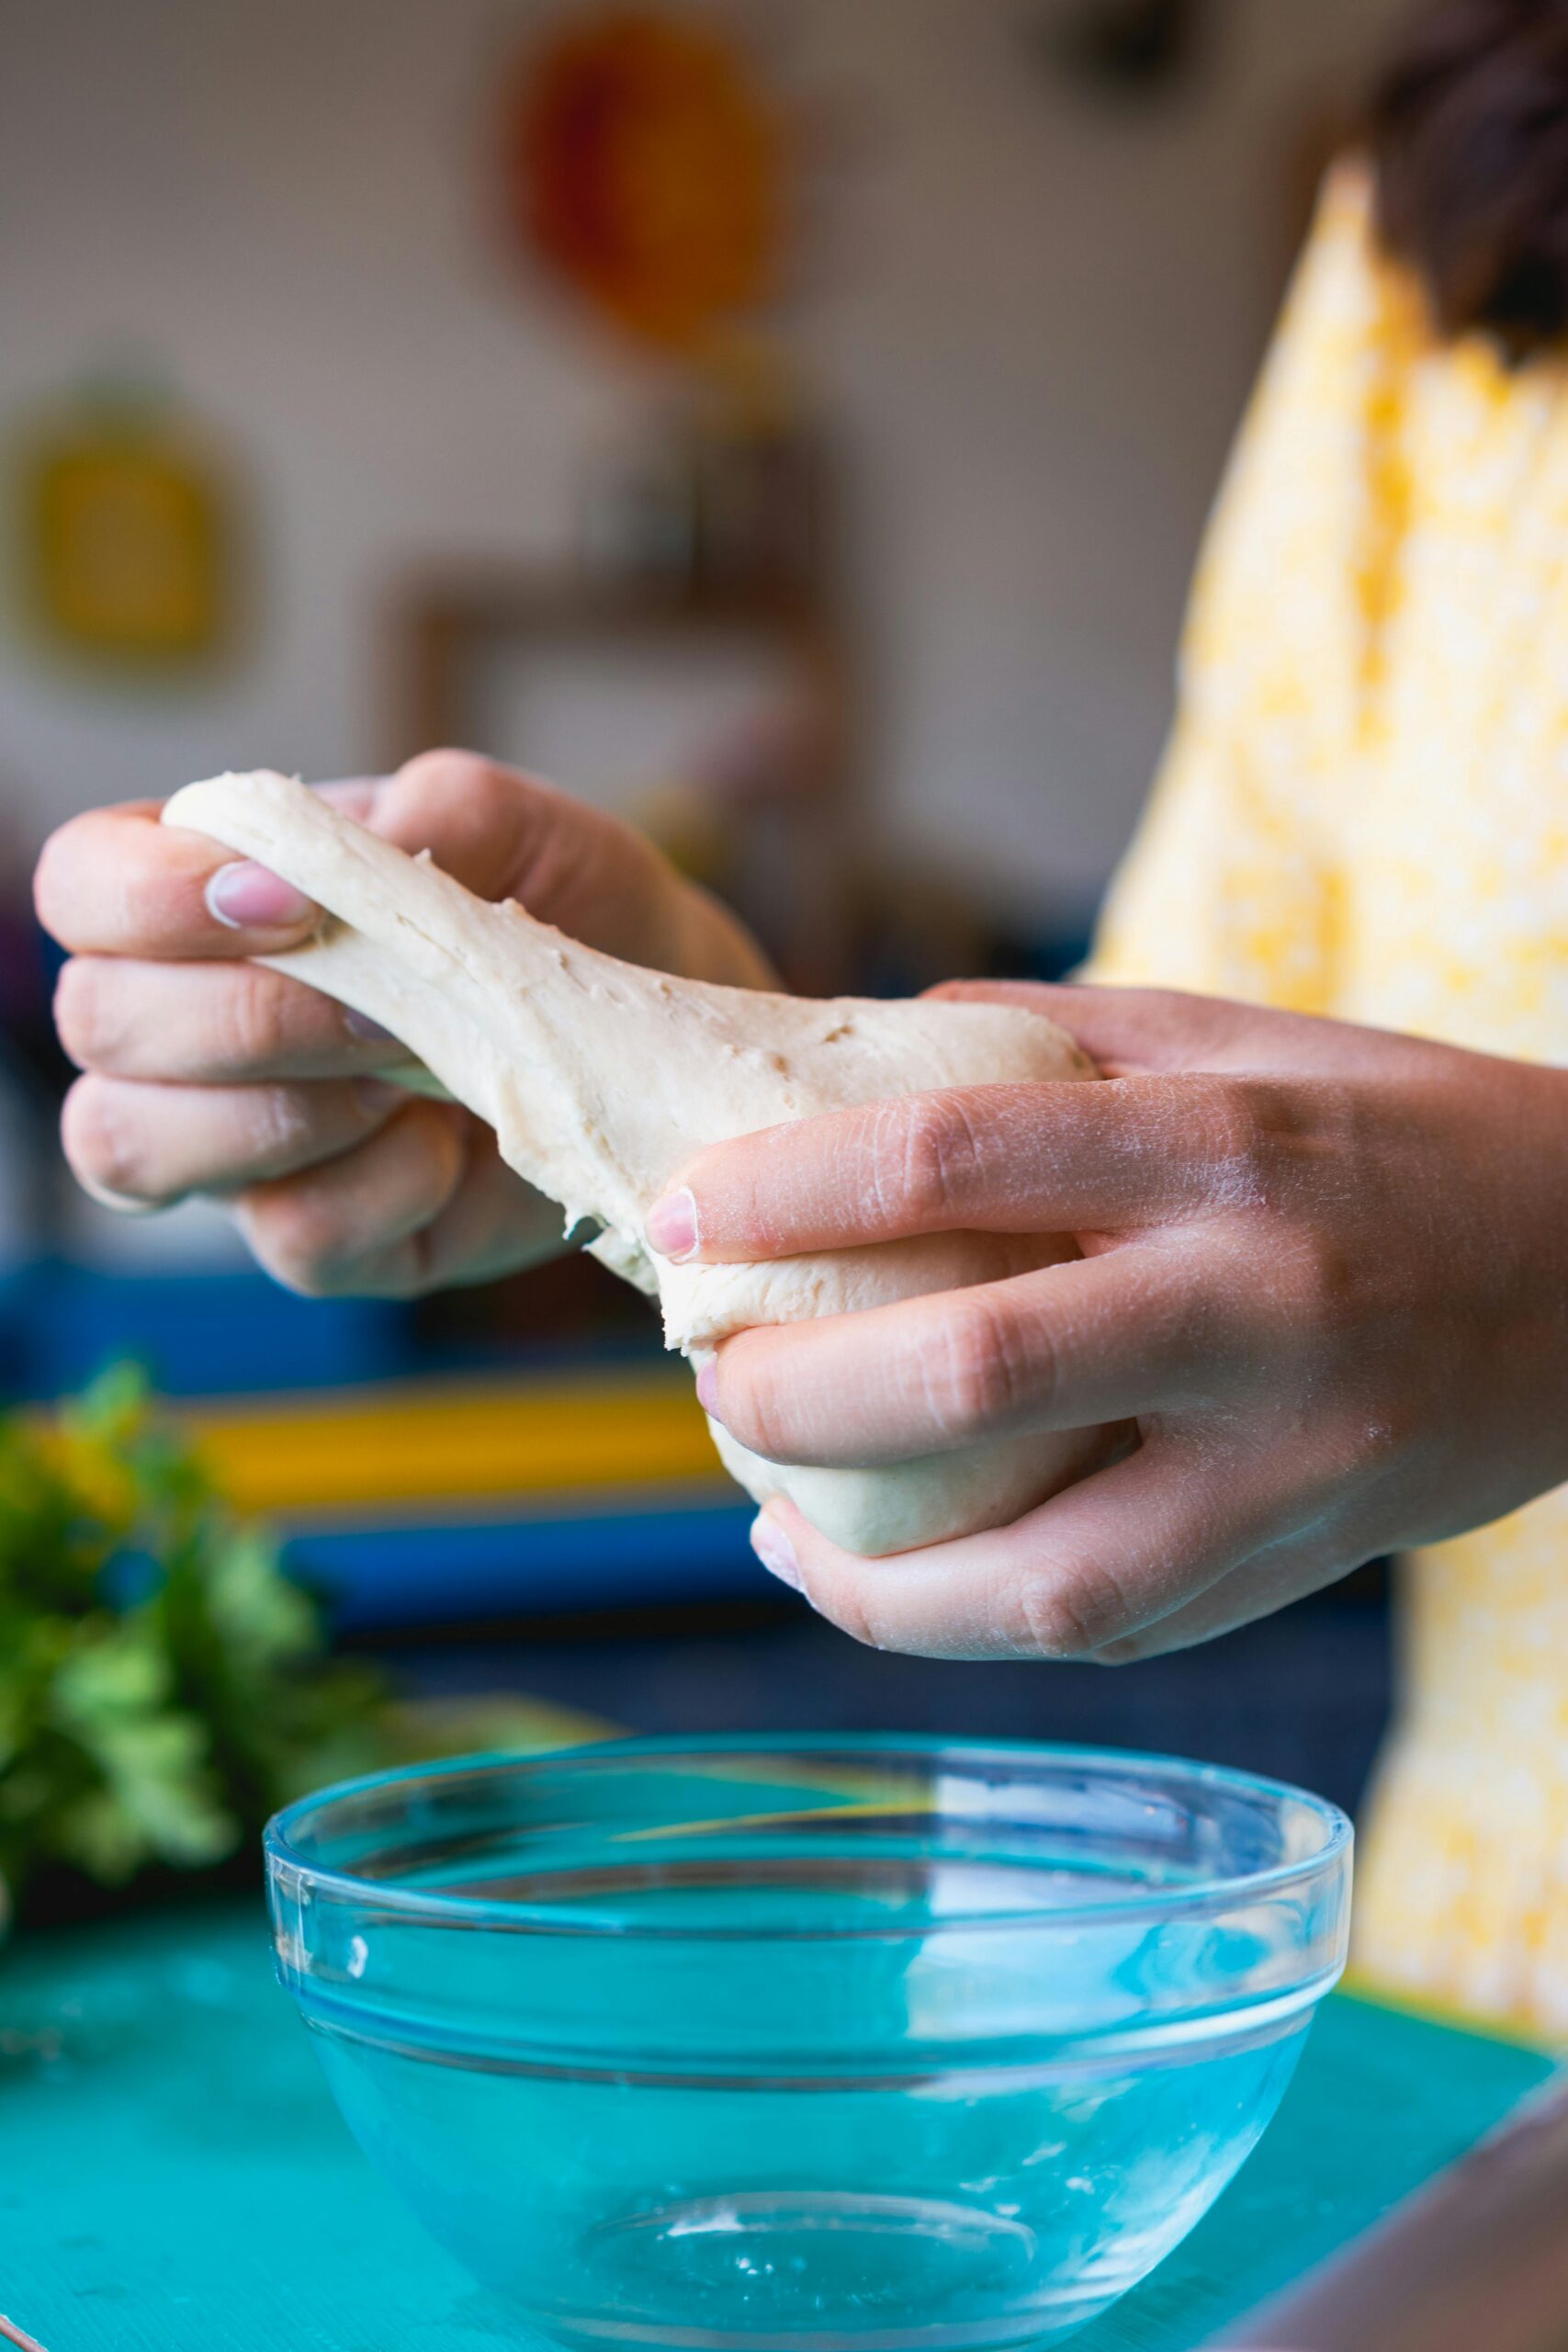
Whether you knead by hand or use a stand mixer, the goal is the same: to achieve a dough that is smooth, elastic, and slightly tacky but not sticky. After kneading, you should be able to stretch the dough without it tearing, which indicates the gluten has developed properly.
How Long to Knead Pizza Dough
It’s important not to rush the kneading process. Ideally, you should knead the dough for about 8 to 10 minutes. The dough will become more smooth and less sticky as you continue working it. If it remains sticky, sprinkle a little more flour, but always remember that too much flour will result in a dense crust. After kneading, the dough should be soft and elastic, able to stretch without tearing.
Step 4: Let the Dough Rise
Once you’ve finished kneading the dough, it’s time to let it rise. This is where the magic happens. Place your dough in a clean bowl and cover it with a damp cloth or plastic wrap. Allow the dough to rest in a warm place for about 1 to 1.5 hours or until it has doubled in size.
During this time, the yeast will work its magic, causing the dough to ferment and develop more complex flavors. This rise is crucial because it creates those lovely air pockets in the dough that result in a light and airy pizza crust.
Step 5: Punch Down the Dough
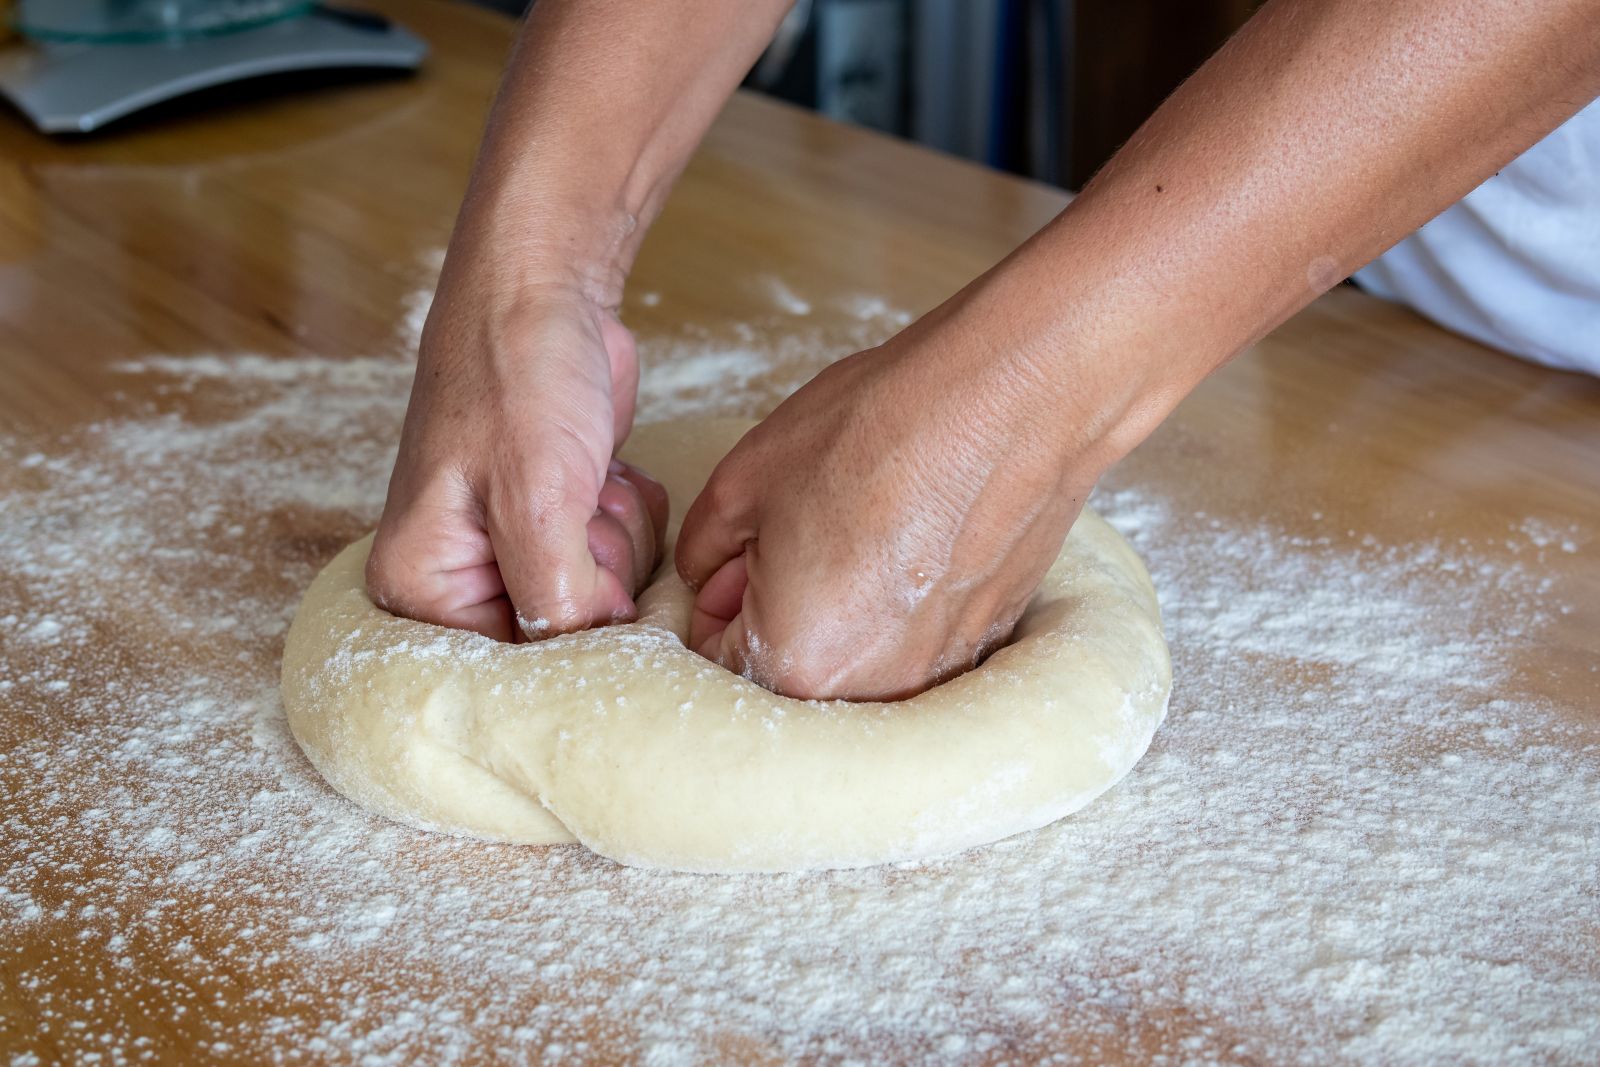
After the dough has risen, punch it down gently to release any large air bubbles. This process is known as “deflating” the dough. Transfer it to a floured surface, and you can either divide it into individual portions or leave it as a single large dough ball, depending on your pizza size.
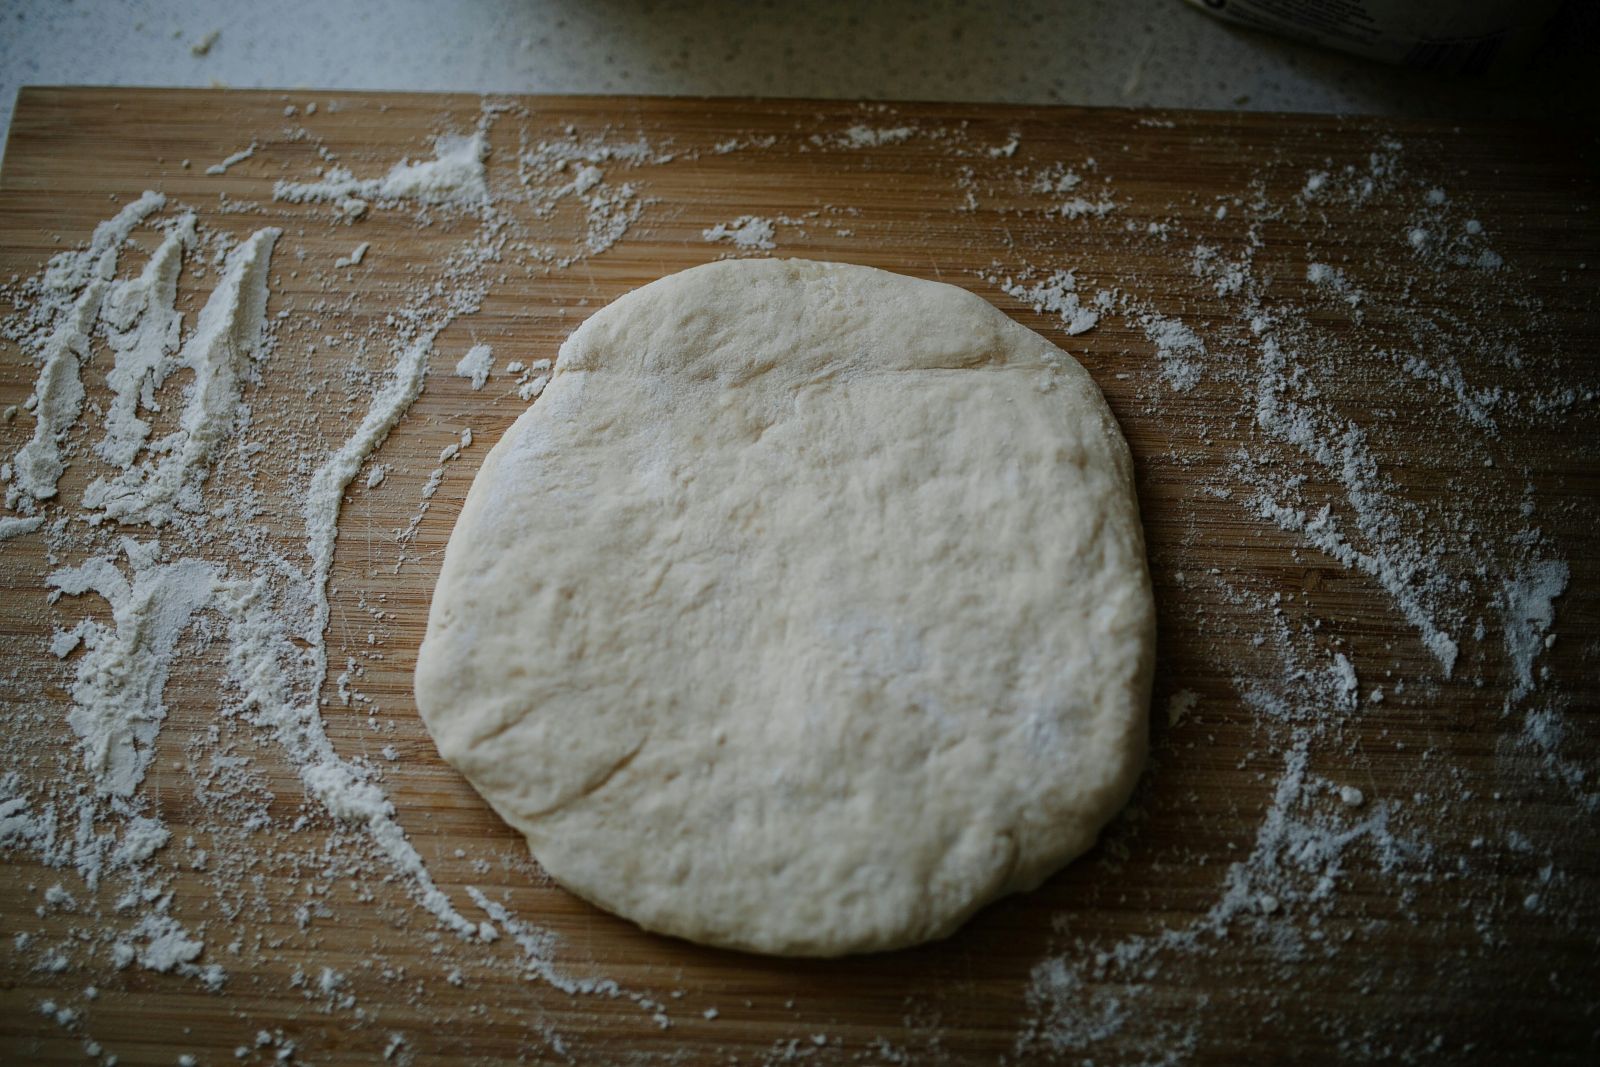
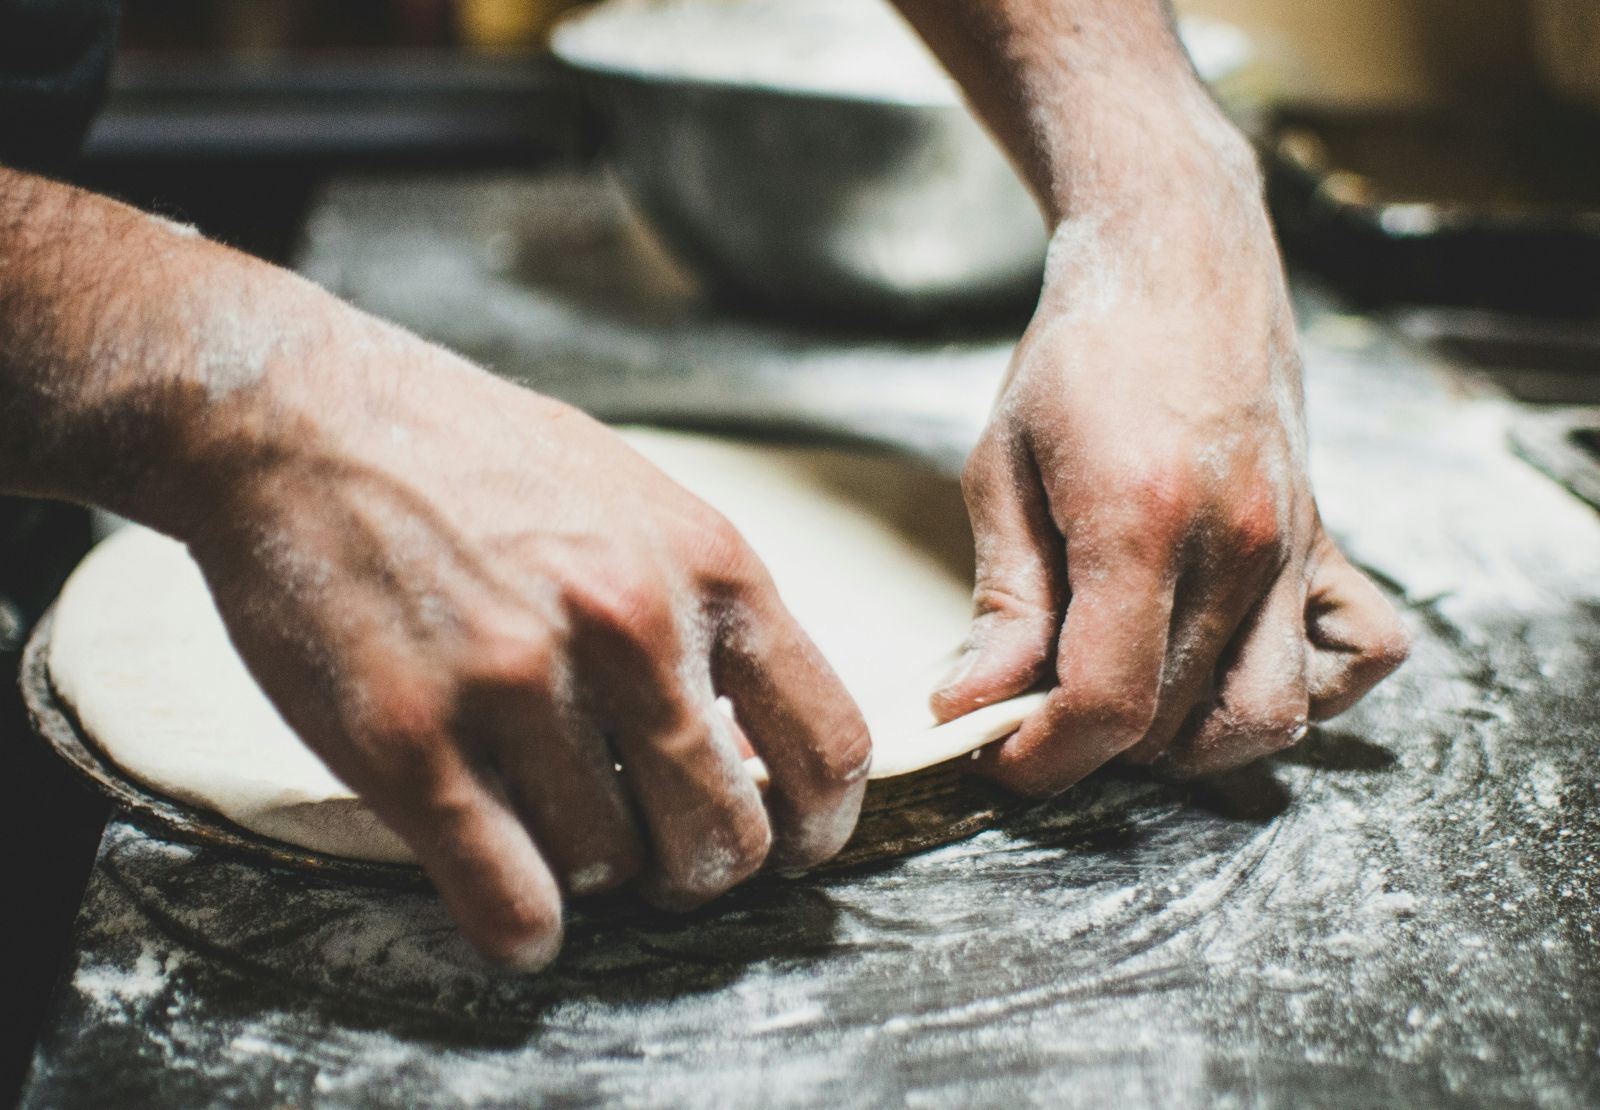
Step 6: Shape the Dough
Now that the dough is ready, it’s time to shape it into your pizza crust. There are a few different techniques you can use to shape your dough. If you’re making a traditional round pizza, you can either use your hands or a rolling pin.
Hand Stretching
For hand-stretching, flatten the dough ball into a disc using your fingers, starting from the center and working your way out. Gently lift and stretch the dough by holding it by the edges and letting gravity help with the process. Continue stretching the dough until it reaches your desired thickness. Be careful not to tear the dough while stretching it.
Rolling Pin
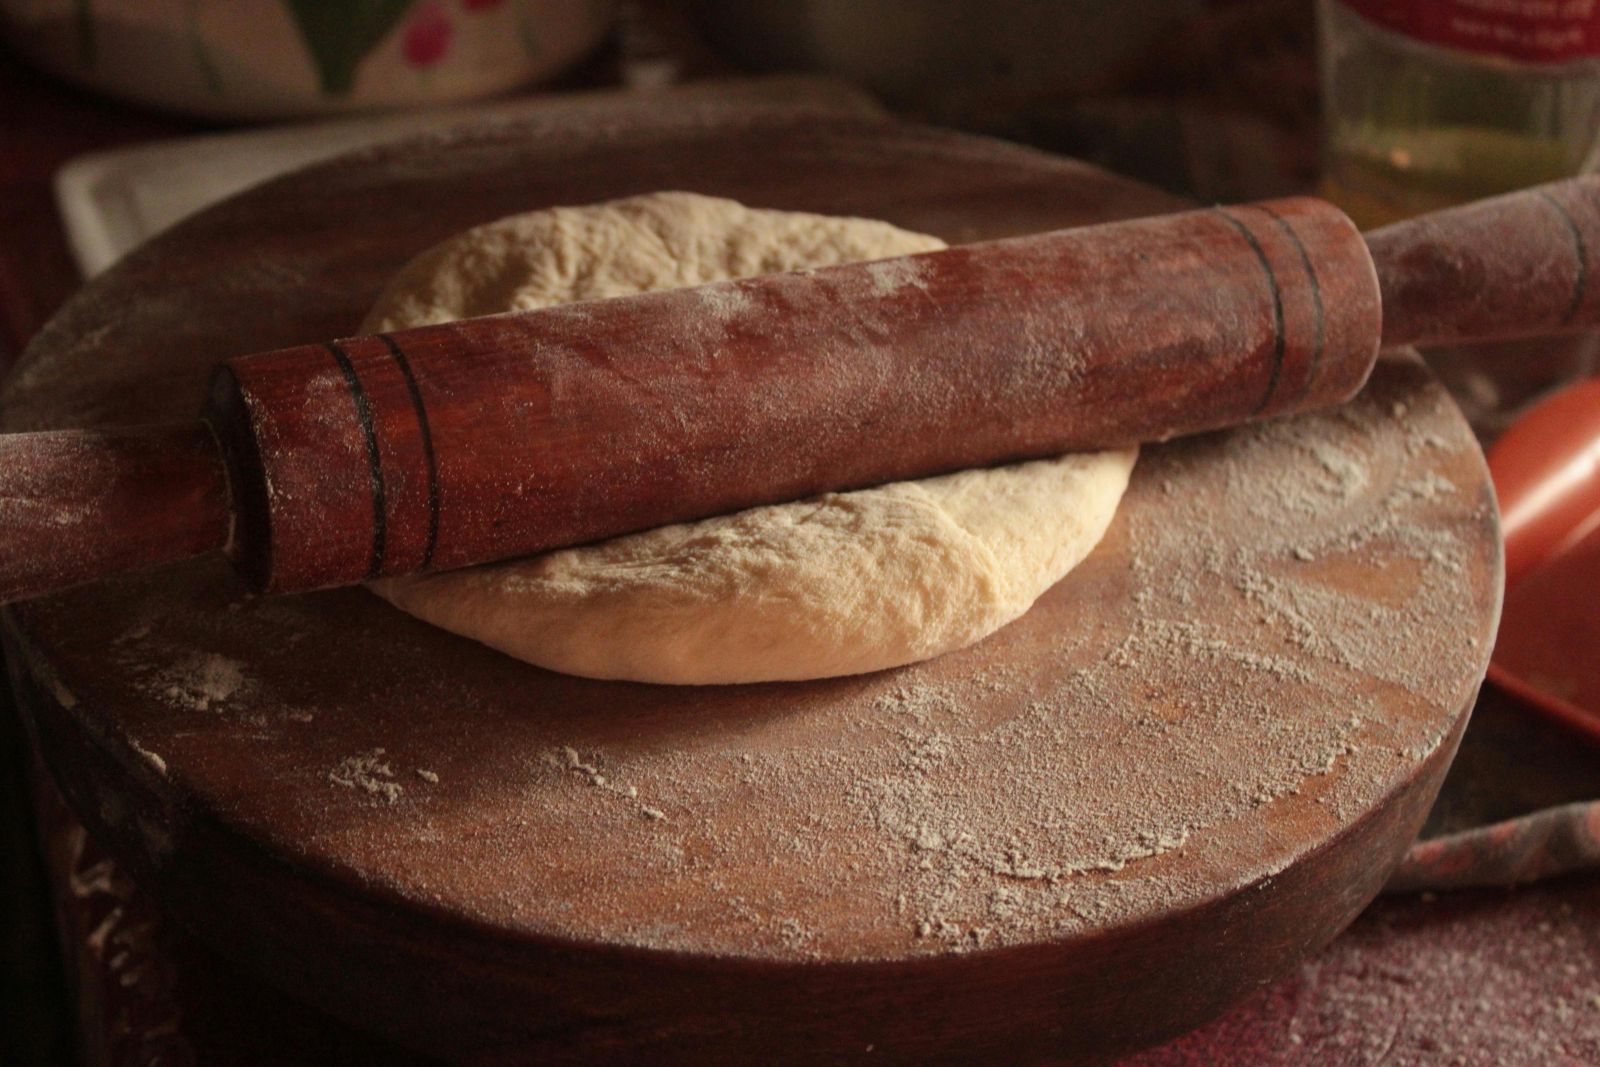
If you prefer a more even crust, you can use a rolling pin to roll the dough out to the desired thickness. This method is quicker but might not provide as much airiness as hand-stretching.
Step 7: Preheat the Oven

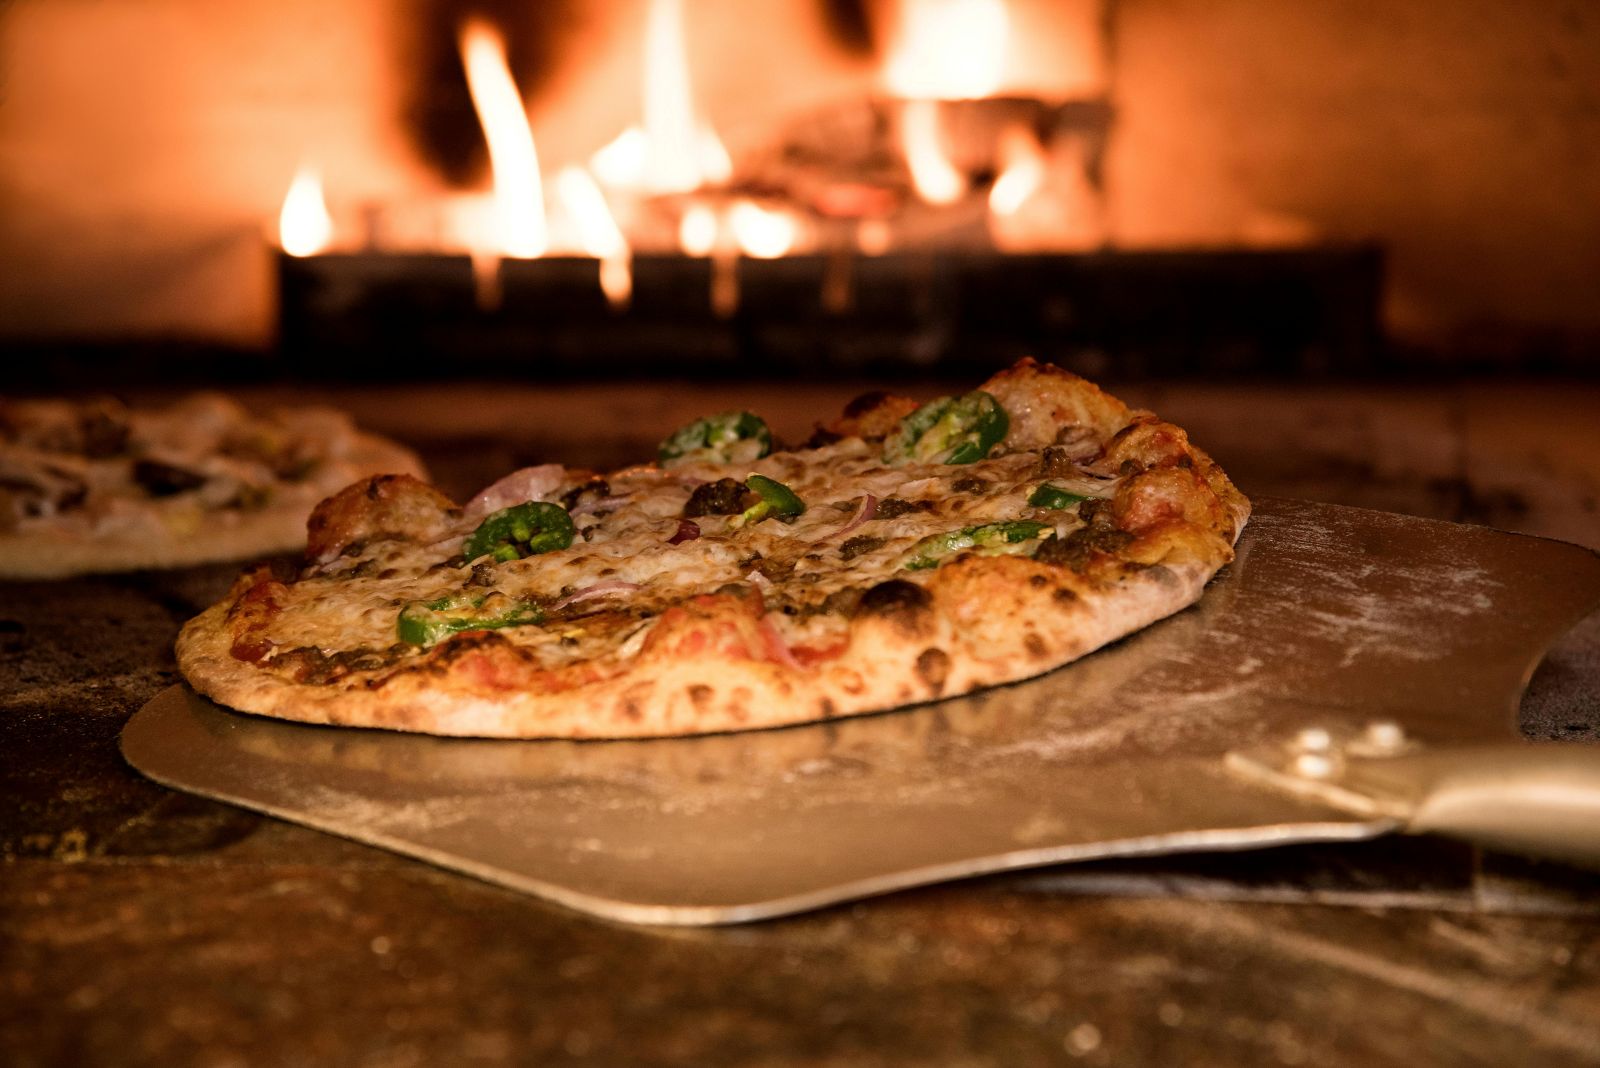
Before placing your pizza on the baking surface, make sure your oven is preheated to the correct temperature. For crispy, well-cooked pizza, preheat the oven to 475°F (245°C). If you have a pizza stone, place it in the oven while it preheats. A pizza stone retains heat and gives your pizza a crispier crust.
Step 8: Add Toppings and Bake
Once your dough is shaped, it’s time to add your favorite toppings. Spread pizza sauce, cheese, and other ingredients over the dough. Make sure not to overload it with toppings, as this can make the crust soggy. Place the pizza in the preheated oven and bake for 10 to 15 minutes, depending on the thickness of your crust and toppings.
The pizza should be golden brown around the edges, with a slightly charred appearance. Keep a close eye on it during the final few minutes of baking to prevent overcooking.
Troubleshooting Common Issues While Kneading Pizza Dough

Kneading dough for pizza seems straightforward, but sometimes things don’t go as planned. The dough might be too sticky, too dry, or just not coming together as you’d like. Don’t worry—there’s always a solution. Below are some common problems you might encounter while learning how to knead dough for pizza, along with tips to fix them.
Dough Is Too Sticky
One of the most frequent issues people face when learning how to knead dough for pizza is dealing with sticky dough. If you find that the dough is sticking to your hands or the work surface, the most likely cause is that the dough is too wet. This can happen if you added too much water or not enough flour during mixing.

To fix this, sprinkle a small amount of flour on the dough and your work surface. Be cautious—adding too much flour will make the dough stiff and dry, which can affect the texture. If the dough is excessively sticky, you may need to add flour a little at a time, kneading gently as you go. But always remember, a slightly sticky dough is better than a dry one, so it’s important not to overdo it.
If you’re using a stand mixer, the dough hook can sometimes get caught in overly sticky dough. In this case, try scraping the dough from the hook and letting it knead for a little longer. The dough should start to firm up as the gluten develops.
Dough Is Too Dry
On the flip side, you may encounter dough that’s too dry, crumbly, or not coming together into a smooth ball. If this happens, it could be that you didn’t add enough water or that your flour has absorbed too much moisture. The dough may look rough, with cracks appearing along the edges.
If you find yourself struggling with dry dough, don’t panic. The fix is simple. Add small amounts of warm water (a tablespoon or so at a time) and knead the dough until it becomes smooth and elastic. Avoid dumping water in all at once, as this can make the dough too wet and lead to a sticky mess. Also, ensure your flour is measured correctly, as variations in flour types or even brand can absorb different amounts of water.
Dough Won’t Rise Properly
Another frustrating issue is when the dough doesn’t rise as expected after kneading. If you’re asking yourself why your dough hasn’t puffed up as you hoped, the issue may lie in the yeast activation or the rising environment.
To troubleshoot, first check that your yeast is still active. If your yeast has expired or was exposed to water that was too hot or cold, it might not work as well. You can test the yeast by mixing it with warm water and sugar. If it doesn’t foam after 10 minutes, it’s time to start over with fresh yeast.
Tough or Dense Dough
If your pizza dough turns out too dense or tough instead of light and airy, there could be a few reasons behind it. First, you may have overkneaded the dough. While kneading is essential for gluten development, too much kneading can cause the dough to become overly firm and dense.
If you’re using a stand mixer, be sure to stop mixing as soon as the dough becomes smooth and elastic. Overmixing in a machine can lead to the same tough results as overworking by hand. For hand kneading, aim to knead for 8-10 minutes and check the dough regularly to see if it’s passed the “windowpane test.” This test involves stretching a small piece of dough between your fingers—if it forms a thin, translucent membrane without tearing, you’ve kneaded it just right.
Cracks or Tears When Stretching the Dough
If you’re stretching your pizza dough and you notice cracks or tears forming, it could be a sign that the dough hasn’t rested enough. Resting the dough is an important part of the pizza-making process because it allows the gluten to relax and makes the dough easier to stretch.
Before you start stretching, let the dough rest for 10-15 minutes if it’s resisting. This short resting period gives the gluten time to relax, making the dough more elastic and less likely to tear.
Dough Is Too Oily
Sometimes, when learning how to knead dough for pizza, people add too much olive oil, which can result in a greasy dough. While olive oil adds flavor and texture, excessive amounts can cause the dough to feel oily and heavy.

To avoid this, measure the oil carefully and use only what the recipe calls for. If the dough is already too oily, you can work in a little more flour to balance the texture, but don’t overdo it or the dough may become too dense.
Uneven Rise or Bubbling
Occasionally, you may notice that your dough rises unevenly, creating large air bubbles in some areas and not others. This can happen if the dough wasn’t kneaded thoroughly or if it was over-proofed during the rising stage. If you notice large pockets of air forming in certain areas of the dough, gently punch it down to release those bubbles and reshape the dough.
To avoid uneven bubbles, make sure to knead your dough evenly, incorporating air throughout the entire ball. When the dough is left to rise, ensure it’s done so in an even, warm environment to promote uniform growth.
FAQs About How to Knead Dough for Pizza


How do I know if I’m kneading the dough enough?
When learning how to knead dough for pizza, check for smoothness and elasticity. After kneading for 8-10 minutes, try the “windowpane test.” If the dough stretches thin without tearing, it’s ready. If it’s still rough, keep kneading a little longer to develop the gluten.
Can I use a stand mixer to knead dough for pizza?
Yes, a stand mixer is a great tool for kneading pizza dough. Simply attach the dough hook, mix the ingredients, and knead on low speed for about 5-7 minutes. The dough should be smooth and elastic when done, without requiring manual effort.
How long should I knead pizza dough by hand?
If you’re kneading dough by hand, expect to knead for about 8-10 minutes. The dough should become smooth, elastic, and slightly tacky. Don’t overwork it, as this could make the dough tough instead of soft and chewy.
Why is my pizza dough sticky while kneading?
A sticky dough can happen when you add too much water or not enough flour. If your dough sticks, add a small amount of flour. Be cautious—adding too much flour can make the dough dry. Knead gently until it reaches the desired consistency.
Can I knead pizza dough too much?
Yes, over-kneading dough can lead to a tough, dense crust. If you’re wondering how to knead dough for pizza properly, stop when it becomes smooth and elastic. Overdoing it can make the dough less airy and chewy, which is not ideal for a pizza base.
How do I fix dry pizza dough?
If your pizza dough feels dry or crumbly, it likely lacks enough moisture. Gradually add warm water, one tablespoon at a time, until the dough becomes smooth. Be careful not to add too much water at once, as this can turn your dough too sticky.
What is the ideal consistency for pizza dough?
The dough should be soft, smooth, and slightly tacky, but not sticky. While learning how to knead dough for pizza, test its texture by pressing your finger into the dough. If it springs back, it’s ready for the next step in pizza preparation.
Can I knead pizza dough in a food processor?
Yes, you can use a food processor to knead pizza dough, but it’s important not to over-process. Pulse the ingredients for about 30 seconds to form a dough. Afterward, remove it, and let it rest for a few minutes before stretching.
How can I tell if my pizza dough is over-proofed?
Over-proofed dough may collapse when stretched, showing large bubbles or a loose texture. If you’re unsure how to knead dough for pizza, it’s a good idea to keep an eye on your dough’s rise time. Once it’s doubled, proceed with forming the crust.
How do I store pizza dough after kneading?
If you have leftover dough, store it in an airtight container in the fridge. After kneading, let the dough rise first, then refrigerate it for up to 3 days. You can also freeze it for long-term storage, but remember to allow it to thaw before using.
Amazon and the Amazon logo are trademarks of Amazon.com, Inc, or its affiliates.