
As an Amazon Associate I earn from qualifying purchases.

Few things are more frustrating than putting time and effort into baking, only to end up with a flat, dense loaf. If your bread isn’t rising as it should, the issue usually comes down to a few key factors—ingredients, technique, and process.
The type of flour you use plays a major role in how well your dough develops and holds structure, especially when it comes to gluten formation and elasticity, which is why choosing the best flour for bread is so important for achieving a good rise.
At the same time, yeast is responsible for creating the gas that makes your dough expand, and if it’s not active or used correctly, your bread simply won’t rise. Understanding how yeast works and behaves during fermentation can make troubleshooting much easier, especially when you have a better grasp of where baking yeast comes from.
Technique also matters more than many people realise. Proper kneading develops the gluten network needed to trap gas and give your bread structure, and without it, even the best ingredients won’t deliver good results—this is why learning how to knead sourdough bread can make such a noticeable difference.
Finally, even your equipment can affect the final outcome. The right baking surface or pan helps support the dough as it rises and bakes, improving both shape and texture, which is why using the right bread baking pans can lead to more consistent results.
Understanding how all these elements work together will make it much easier to identify what’s going wrong—and more importantly, how to fix it.
Understanding How Bread Rises

Bread rises through a fascinating interaction between yeast, flour, water, and time. At its core, the process depends on fermentation. Yeast consumes natural sugars found in flour and converts them into carbon dioxide and alcohol. This gas creates tiny air pockets within the dough, causing it to expand and rise.
The structure of the dough plays a crucial role in this process. When you mix flour with water, proteins called glutenin and gliadin combine to form gluten. This gluten network acts like a flexible web. It traps the carbon dioxide produced by yeast and allows the dough to stretch without breaking. Without strong gluten development, the gas escapes, and the dough remains dense.
Kneading strengthens this gluten network. As you knead, you align the proteins and improve elasticity. A well-kneaded dough feels smooth and slightly springy. This texture signals that the dough can hold gas effectively during fermentation.
🍞 Yeast eats sugars and produces gas—this is the magic behind bread rising!
🕒 Time + warmth = perfect rise. Don’t rush proofing.
🌾 Gluten acts like a net, holding air bubbles for soft, airy bread.
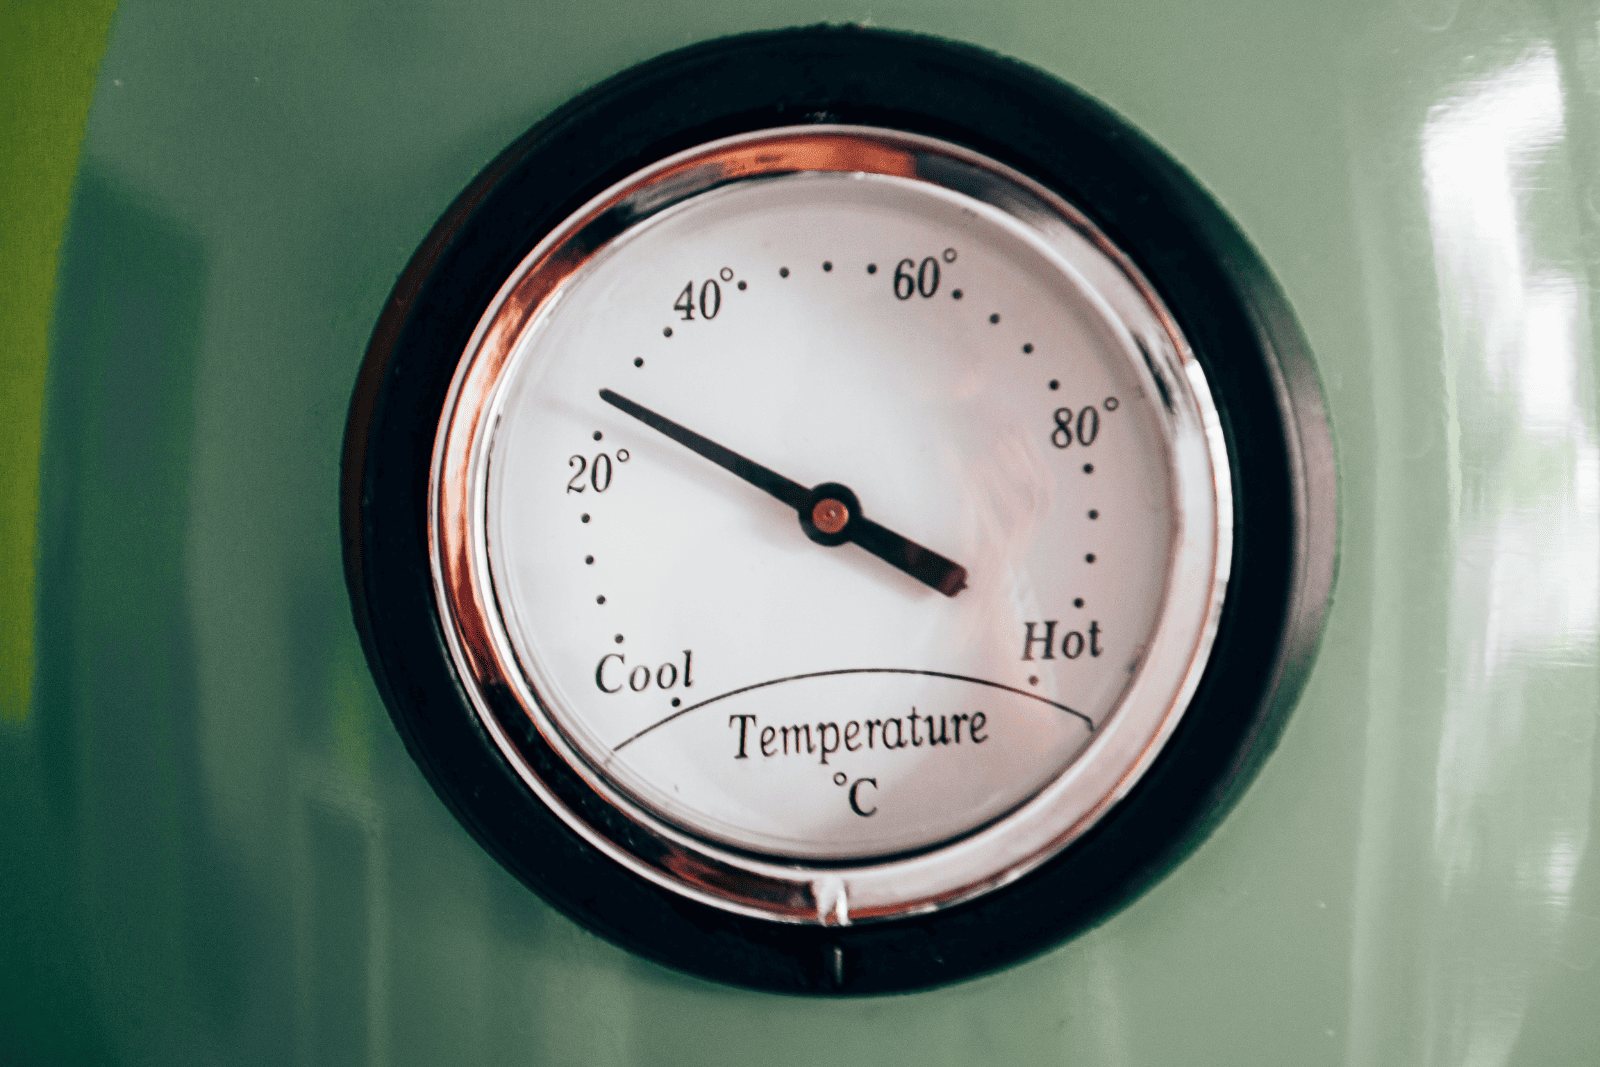
Temperature has a major impact on how well bread rises. Yeast works best in a warm environment, typically between 24°C and 30°C for proofing. If the temperature drops too low, yeast activity slows down significantly. If it becomes too hot, yeast cells can die, stopping fermentation entirely.
Time is another key factor. During the first rise, also known as bulk fermentation, the dough develops flavor and structure. The second rise, or proofing, refines the texture and prepares the dough for baking. Skipping or shortening these stages often leads to poor results.
Moisture also affects the rising process. Proper hydration allows gluten to form and stretch easily. Dough that is too dry cannot expand well, while overly wet dough may lack structure and spread instead of rising upward.
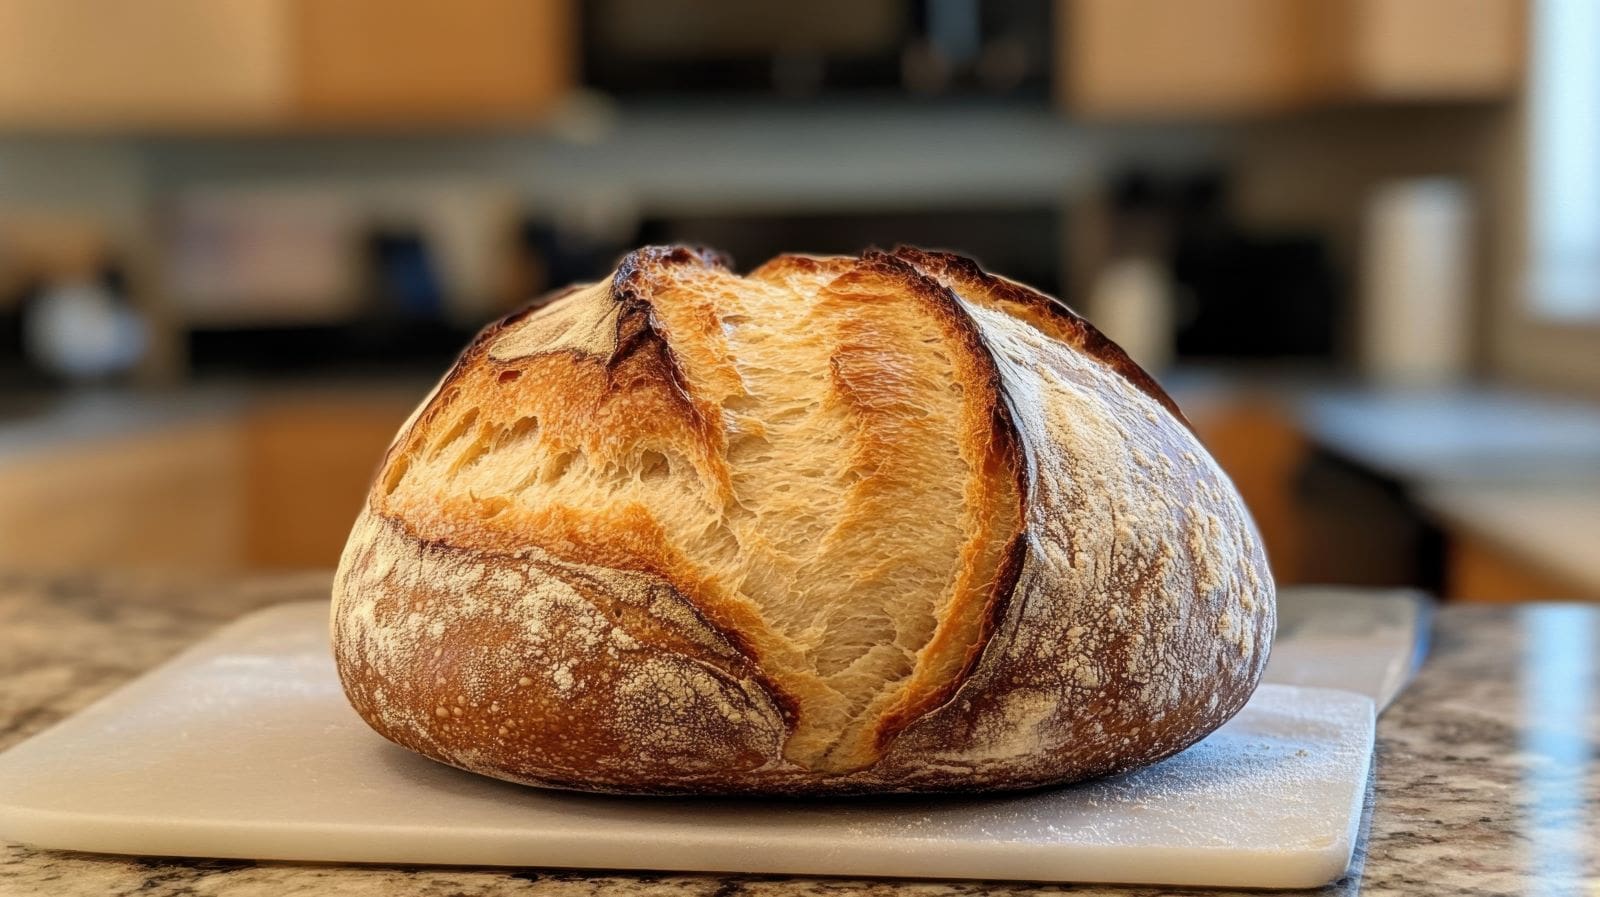
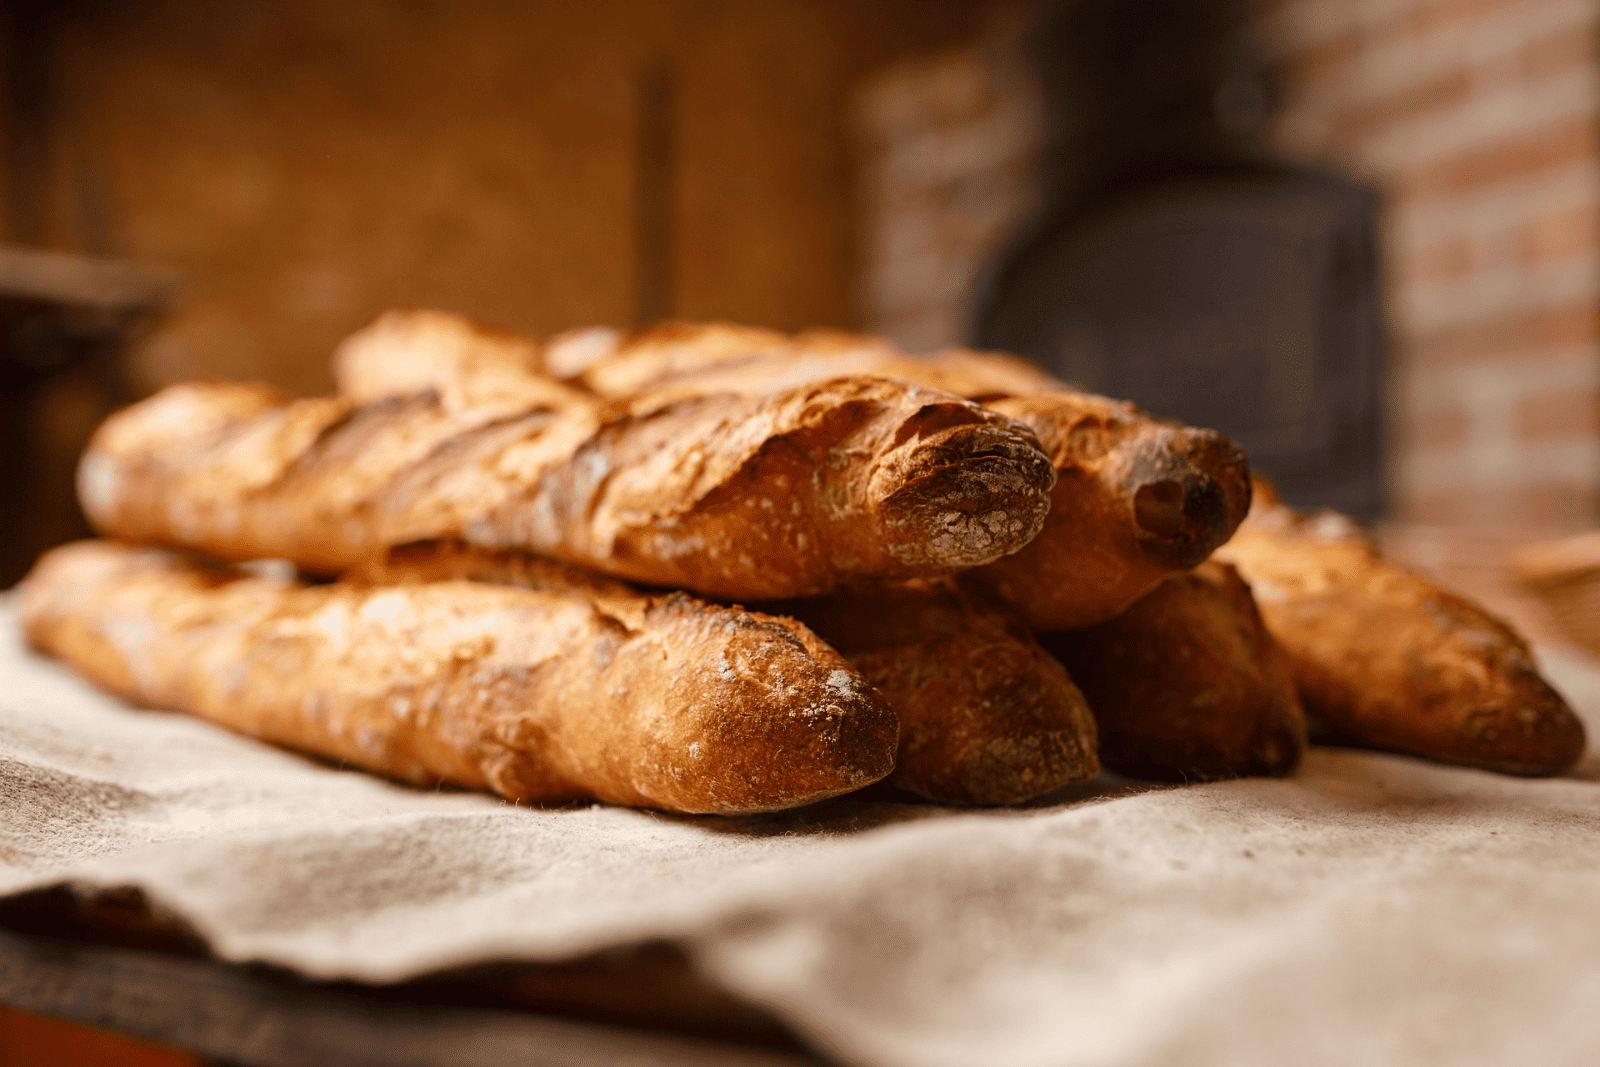
Finally, the baking stage introduces what bakers call oven spring. When the dough enters a hot oven, the remaining yeast activity increases rapidly for a short time. The trapped gases expand quickly, giving the bread a final boost in height before the heat sets the structure.
Understanding these elements helps answer the common question: why is my bread not rising. When yeast, gluten, temperature, and time work together, bread rises beautifully and develops a light, airy texture.
Dead or Inactive Yeast

Dead or inactive yeast is one of the most common reasons bread fails to rise. Yeast is a living organism, so it must be active to produce the gas needed for fermentation. If it is no longer alive, your dough will remain flat and dense.
Yeast can become inactive for several reasons. Expired yeast is a major cause. Over time, yeast loses its ability to ferment properly. Improper storage also reduces its effectiveness. Exposure to air, moisture, or heat can damage it quickly.
Water temperature plays a key role during activation. Hot water can kill yeast almost instantly, while cold water slows it down. Always use lukewarm water to create the right conditions for activation.
❌ Dead yeast = flat bread. Always check expiration dates.
💦 Test yeast in warm water with sugar; foam = alive, no foam = replace it.
🧪 Even healthy-looking yeast can fail—freshness is key!
You can test yeast before using it. Mix it with warm water and a small amount of sugar. If it turns foamy within ten minutes, it is active. If nothing happens, it is best to discard it and start again.
The type of yeast also matters. Active dry yeast usually needs to be activated first, while instant yeast can be mixed directly into flour. Using the wrong method can affect how well it works.
If you keep asking, “why is my bread not rising,” checking your yeast should be your first step. Fresh, properly handled yeast makes a huge difference in achieving a light and airy loaf.
| Factor | Explanation | Solution |
|---|---|---|
| Expired yeast | Yeast loses effectiveness over time and may no longer ferment properly | Always check expiration dates and use fresh yeast |
| Improper storage | Exposure to air, heat, or moisture can damage yeast | Store yeast in a sealed container in a cool, dry place |
| Water too hot | High temperatures can kill yeast instantly | Use lukewarm water (around 37–43°C) |
| Water too cold | Cold temperatures slow down yeast activity | Ensure water is warm enough to activate yeast |
| No yeast activation | Some yeast types require activation before use | Activate active dry yeast in warm water before mixing |
| Wrong yeast type usage | Different yeast types behave differently in recipes | Follow recipe instructions for the correct yeast type |
| Inactive yeast | Yeast may be dead and unable to produce gas | Test yeast with warm water and sugar before use |
| No foam during testing | Lack of foam indicates dead yeast | Discard and replace with fresh yeast |
Water Temperature Problems
Water temperature plays a major role in how well your bread rises. Yeast is highly sensitive to heat, so even small temperature mistakes can affect the entire process.

If the water is too hot, it can kill the yeast almost instantly. This stops fermentation completely, leaving your dough flat and lifeless. Many beginners make this mistake by using boiling or very hot tap water without checking the temperature.
Cold water creates a different problem. It does not kill yeast, but it slows its activity significantly. This leads to very slow rising dough, which can feel like nothing is happening at all.
🌡️ Too hot water kills yeast instantly; too cold slows it down.
💧 Lukewarm water (37–43°C) keeps your yeast happy and active.
🏠 Kitchen temperature matters—cold rooms = slow fermentation.
The ideal water temperature for activating yeast sits between 37°C and 43°C. This range allows yeast to work efficiently without causing damage. Using a kitchen thermometer can help you stay within this safe zone.
It is also important to consider the temperature of your surroundings. If your kitchen is cold, even properly warmed water may not be enough to maintain steady fermentation. In that case, placing your dough in a warmer spot can help.
Getting the water temperature right is a simple but crucial step. It often makes the difference between a well-risen loaf and one that leaves you wondering why is my bread not rising.
Incorrect Flour Type

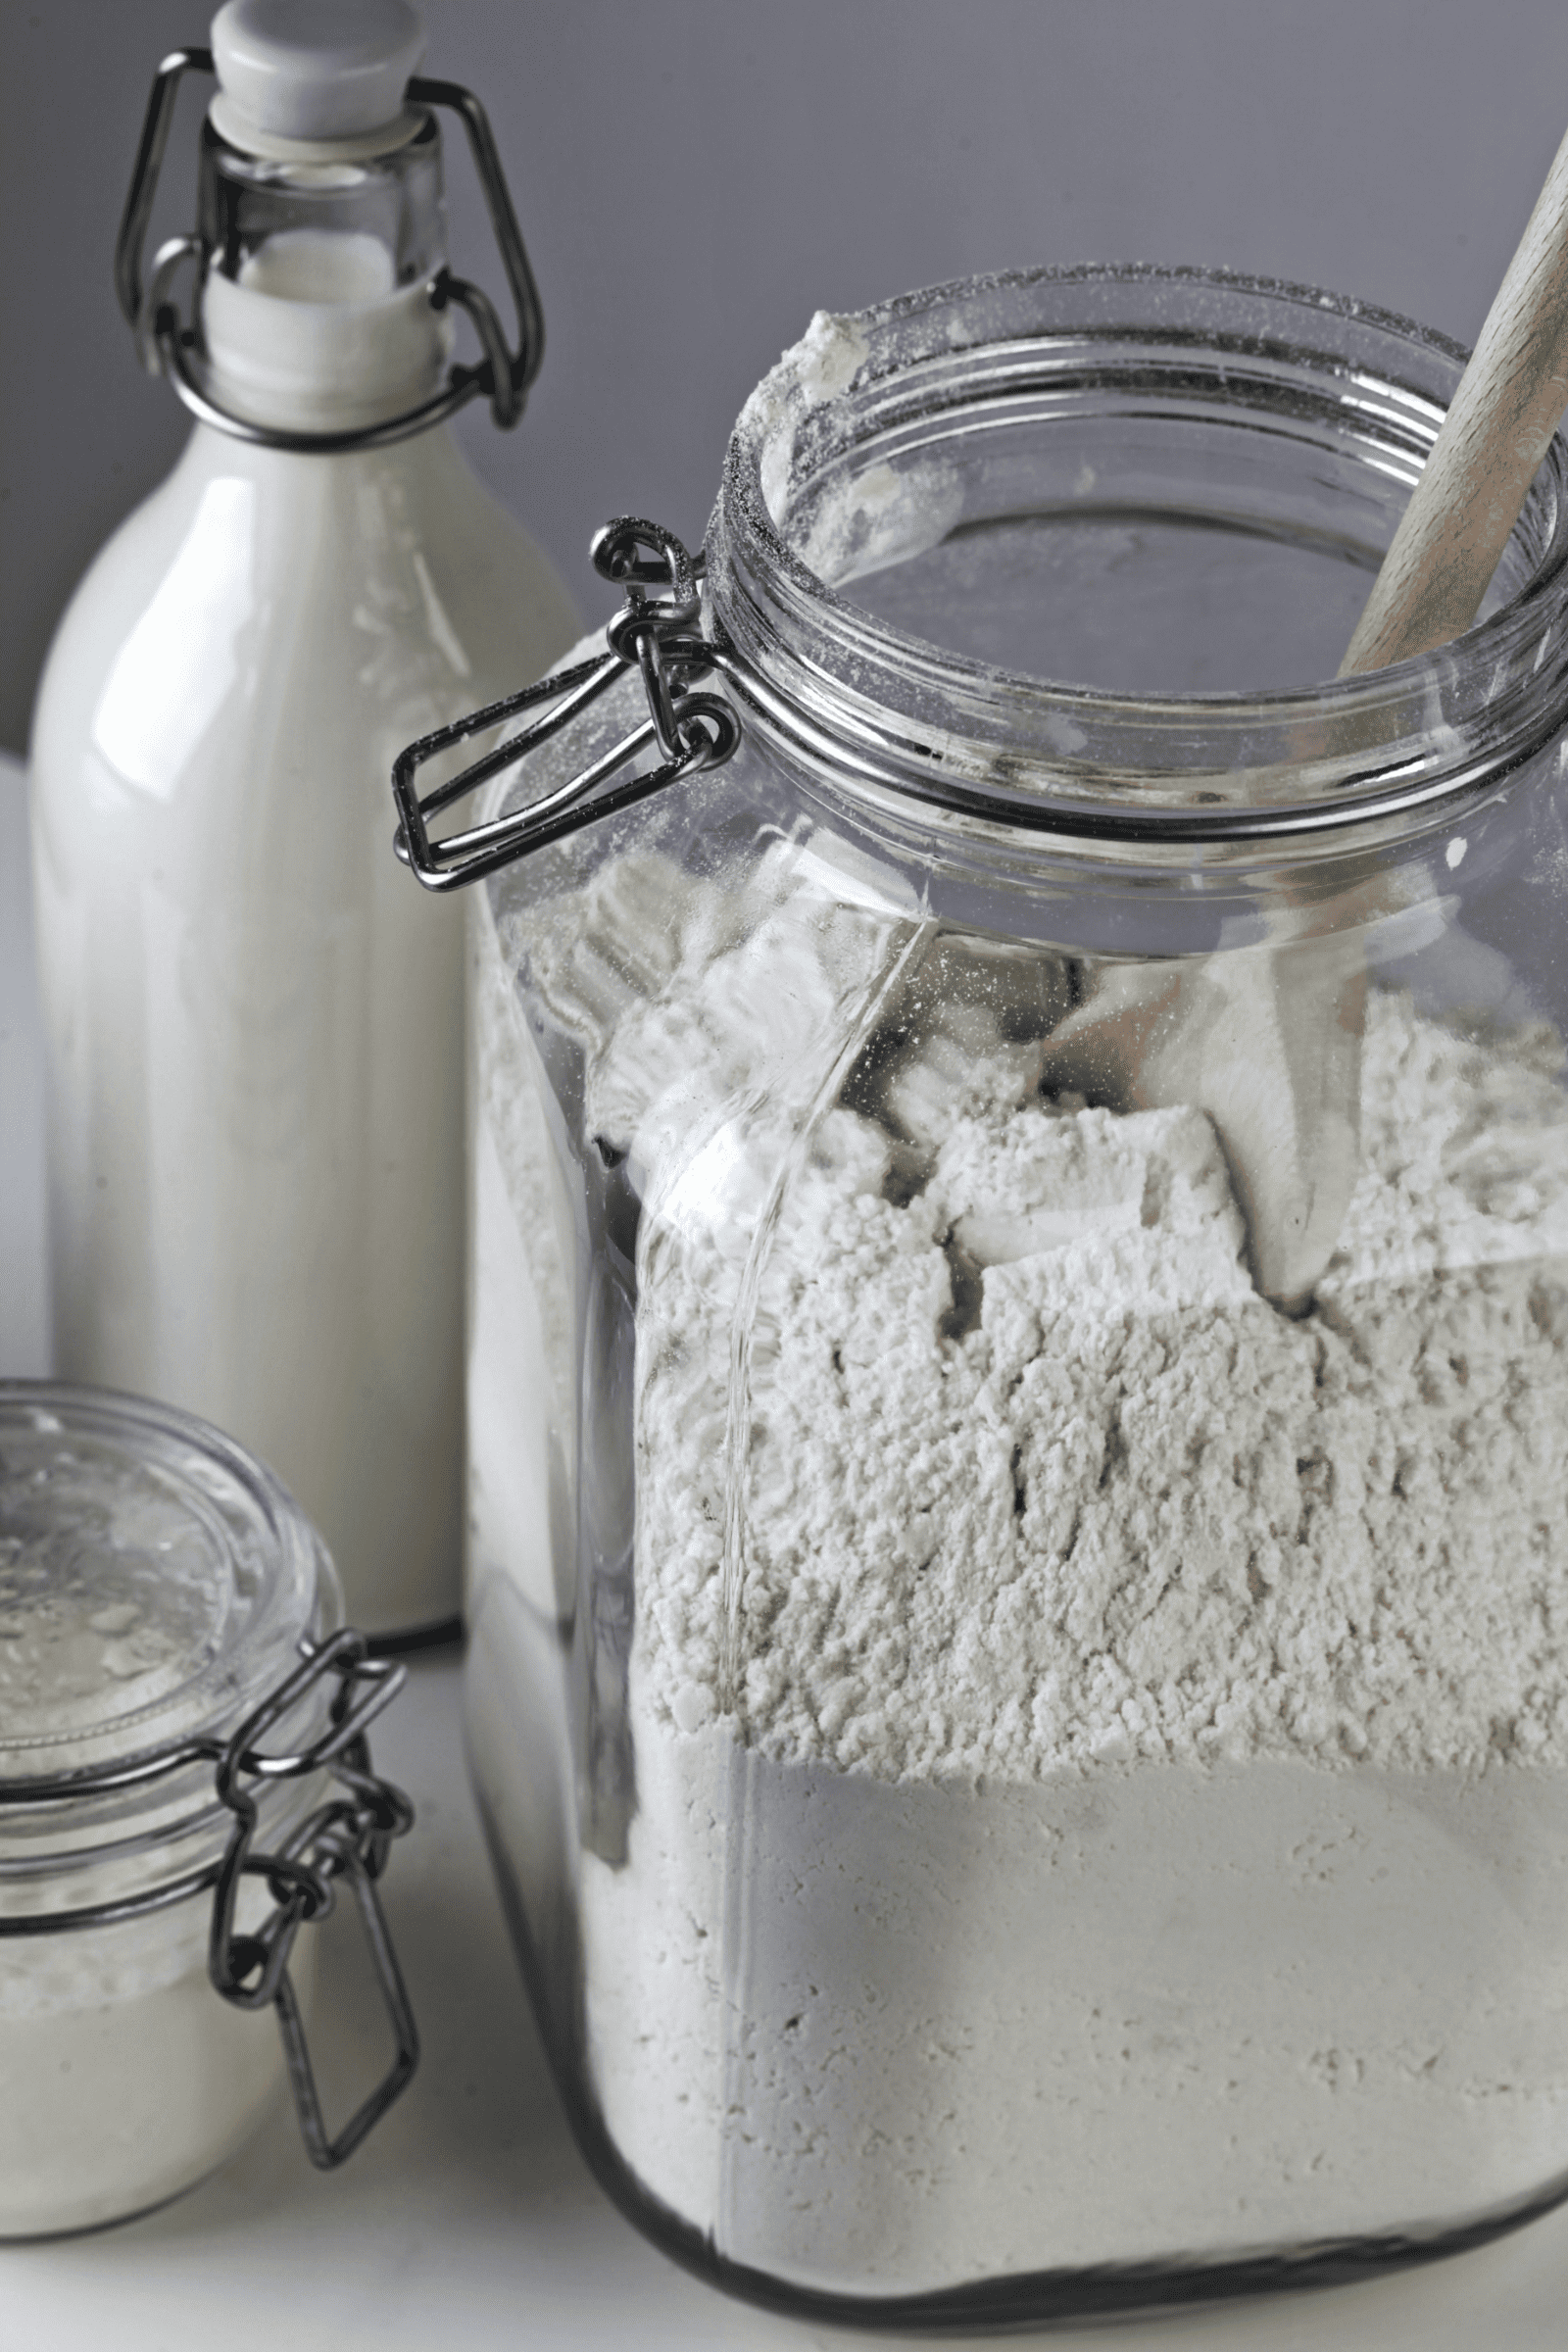
Choosing the right flour is essential for bread to rise properly. Flour isn’t just a base ingredient—it provides the protein necessary to form gluten, which traps gas and creates structure. Using the wrong flour type often leads to dense, heavy bread, leaving many home bakers asking, “why is my bread not rising?”
Bread flour has a higher protein content than all-purpose flour. This extra protein allows stronger gluten development, giving the dough the elasticity it needs to hold carbon dioxide from the yeast. Without enough protein, the gluten network weakens, gas escapes, and the bread remains flat. For a deeper dive on selecting the right flour for your recipes, check out The Best Flour for Bread: A Complete Guide.
🌾 Bread flour = stronger gluten, better rise than all-purpose flour.
🥖 Whole wheat absorbs more water and may cut gluten; blend it for better texture.
❎ Gluten-free? Add xanthan gum or psyllium husk to mimic structure.
Whole wheat flour adds another layer of complexity. It absorbs more water than white flour, and its bran content can cut through gluten strands, weakening structure. As a result, whole wheat bread often rises less unless handled carefully. Blending whole wheat with bread flour can improve the rise while keeping flavor and nutrition.
Gluten-free flours require special attention. They lack the natural gluten proteins necessary to trap gas. Baking with these flours usually involves adding binders like xanthan gum or psyllium husk to mimic the stretchy network gluten provides. Using gluten-free flour without adjustments almost guarantees dense, flat bread.
Even within the same flour type, quality and freshness matter. Old flour may lose some of its protein strength, reducing gluten formation. Fresh, high-quality flour ensures better texture and rise.
Understanding the flour you’re using, its protein content, and how it interacts with water and yeast is crucial. Selecting the correct flour and adjusting hydration accordingly can turn a failed loaf into a beautifully risen, airy bread.
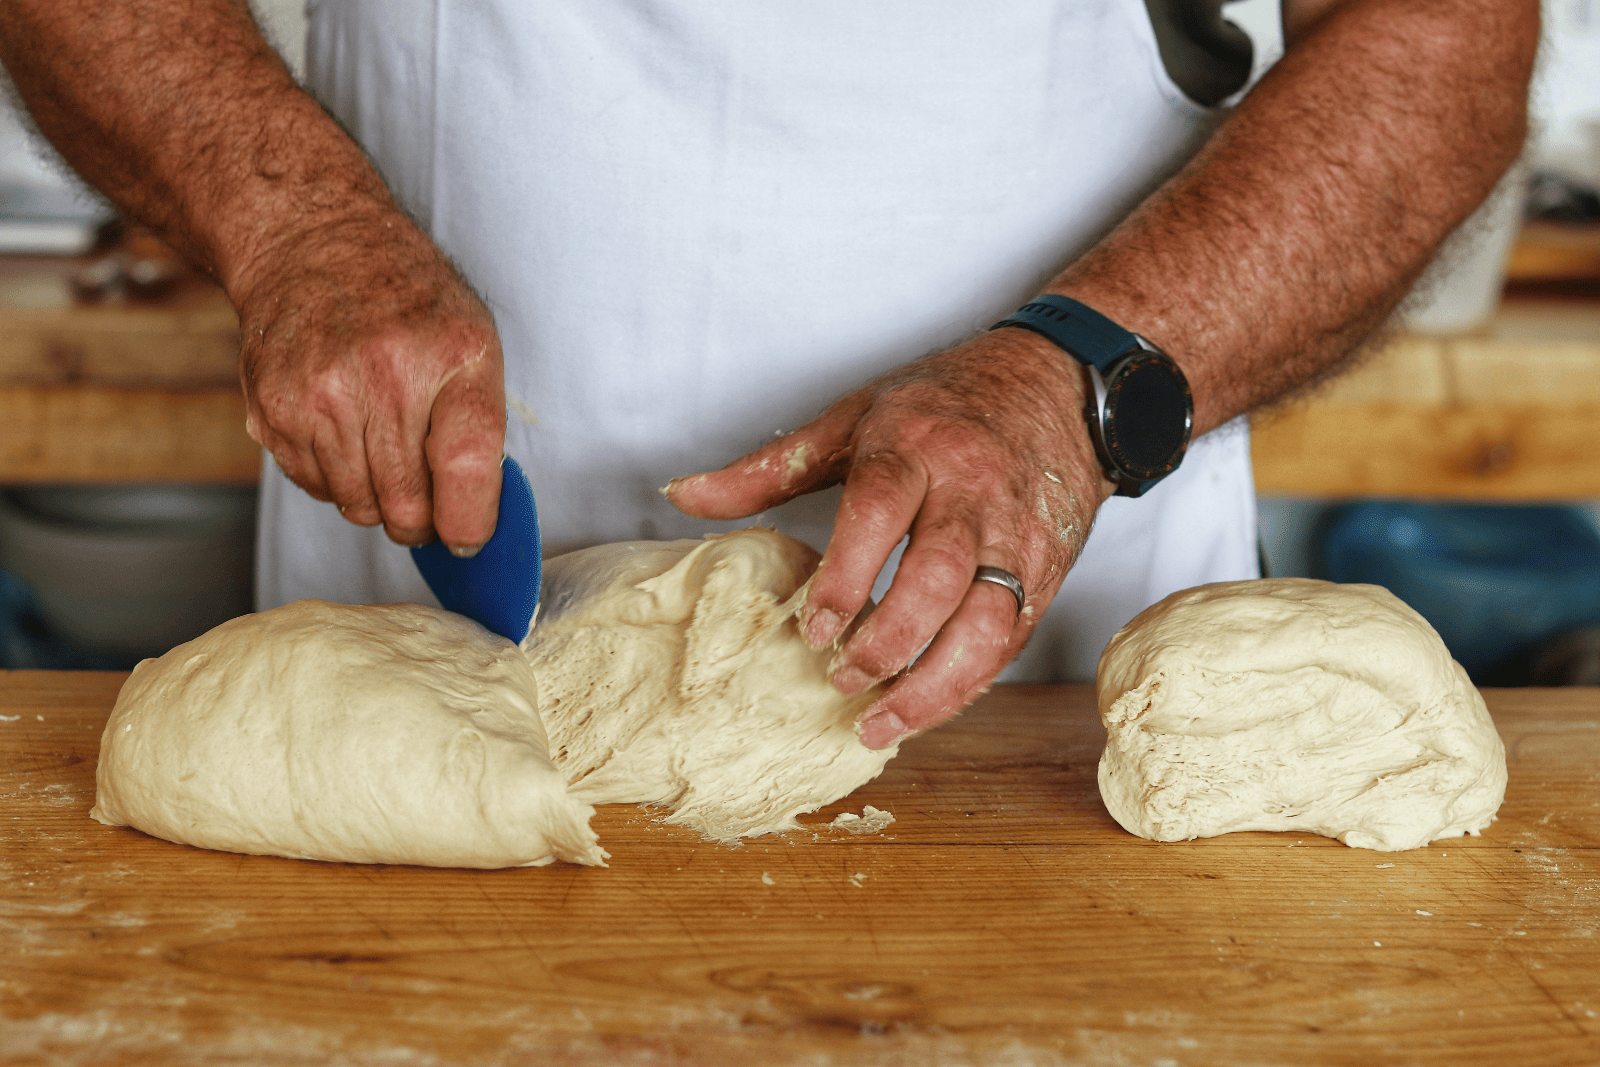
Poor Dough Kneading
Kneading is one of the most important steps in bread-making. It develops gluten, the network of proteins that gives bread structure and elasticity. Without proper kneading, the dough cannot trap the carbon dioxide produced by yeast effectively, resulting in dense, flat bread that leaves many asking, “why is my bread not rising?”
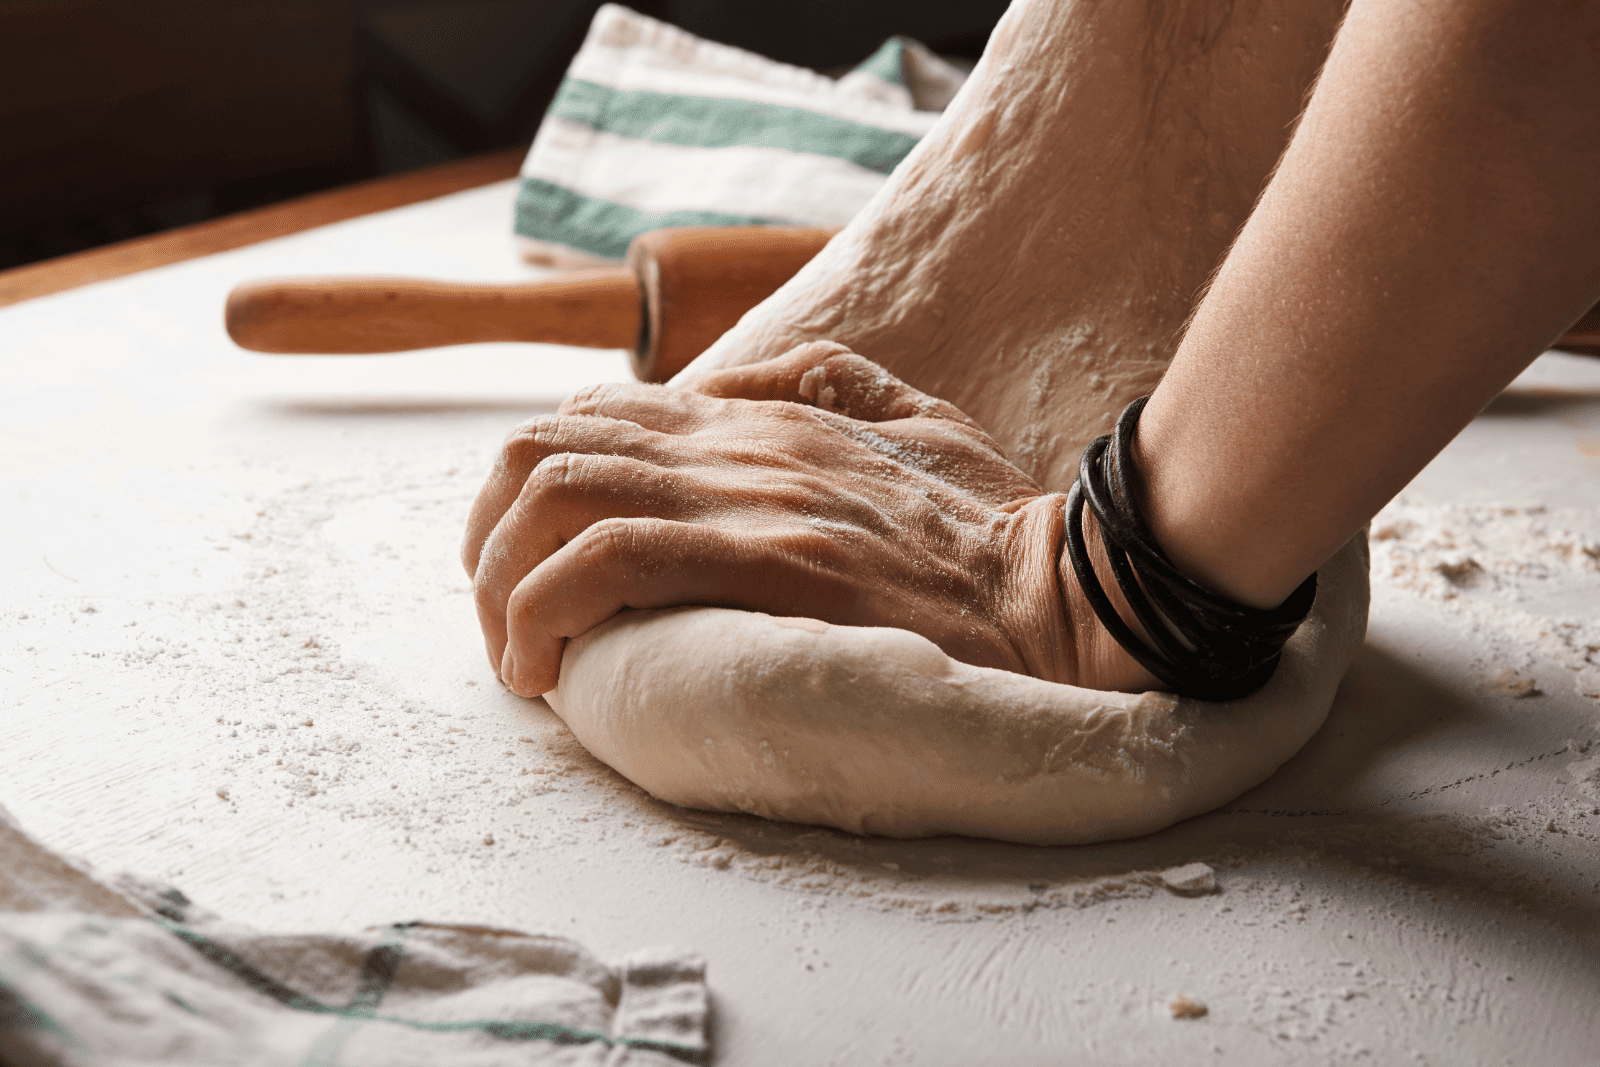
Under-kneaded dough is a common problem. It feels sticky, weak, and tears easily when stretched. The gluten network hasn’t formed properly, so gas escapes, preventing the dough from expanding. Bread made from under-kneaded dough often has a heavy, compact crumb and lacks the soft, airy texture that well-kneaded bread achieves.
✋ Kneading develops gluten, which traps gas for structure and rise.
⚖️ Under-kneaded = dense, over-kneaded = stiff. Find balance!
👀 Windowpane test: stretch a piece of dough thin—if it’s translucent without tearing, it’s ready.
Over-kneading can also cause issues, especially with machines or high-speed mixers. Too much kneading makes the dough overly tight and stiff. This limits its ability to rise because the dough becomes too rigid to stretch and hold gas. Over-kneaded dough may bake unevenly or result in a dry, tough loaf.
The goal is a smooth, elastic dough that springs back when pressed. One simple way to test readiness is the windowpane test: take a small piece of dough and gently stretch it. If it stretches thin without tearing and forms a translucent “window,” the gluten is well-developed.
Kneading can be done by hand or with a stand mixer. Hand kneading takes time but gives you a better feel for dough texture. Machines can save effort but require attention to avoid overworking the dough.
Proper kneading ensures a strong structure capable of holding gas and supporting a healthy rise. Skipping, underdoing, or overdoing this step is a leading reason why bread fails to rise, so mastering kneading is essential for every baker.
Not Enough Proofing Time


Proofing is a critical stage in bread-making that allows the dough to rise and develop flavor. Many bakers ask themselves “why is my bread not rising”, when the real issue is insufficient proofing. Without enough time, yeast does not produce enough carbon dioxide, and the dough cannot expand properly, resulting in dense, heavy bread.
During the first rise, called bulk fermentation, the dough should roughly double in size. This process develops both structure and flavor. Skipping or shortening this stage leaves the gluten underdeveloped and gas trapped in small pockets, which makes the bread compact.
The second rise, often called the final proof, is equally important. After shaping the dough, allowing it to rest gives it a final opportunity to expand. Skipping this step may cause the bread to collapse in the oven because the dough hasn’t relaxed enough to rise effectively.
⏳ Dough needs time to double in size—don’t rush it.
👀 Watch the dough, not the clock; size and puffiness are key.
🔄 Final proofing before baking ensures maximum oven spring
Temperature plays a significant role in proofing speed. Warm environments accelerate yeast activity, while cold conditions slow it down considerably. If your kitchen is chilly, proofing can take much longer than the recipe suggests. Using a warm, draft-free space, like an oven with the light on, helps ensure consistent results.
Overproofing is also a concern. Leaving dough too long can weaken its structure, causing it to collapse or spread out instead of rising. The key is to watch the dough, not just the clock, and look for visual cues like doubling in size and a slightly puffy texture.
Understanding and allowing proper proofing time gives yeast the chance to work fully, ensuring that your bread rises beautifully and develops the soft, airy texture every baker hopes for.
Too Much Salt

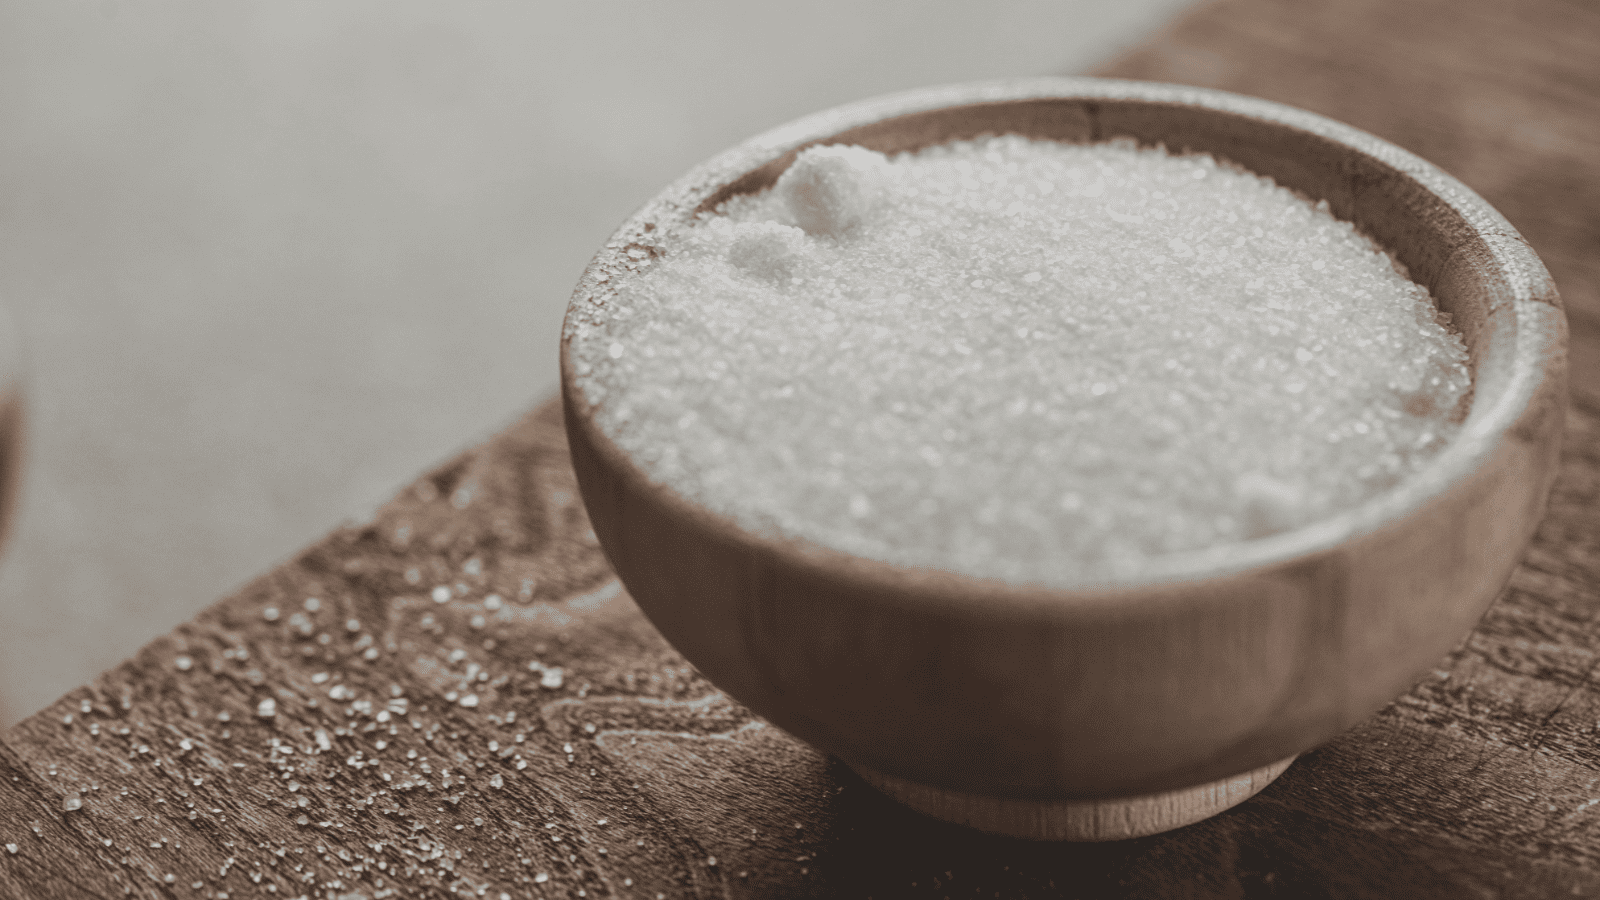
Salt is an essential ingredient in bread, but using too much can interfere with the rising process. Many bakers wonder, “why is my bread not rising,” and the culprit is often excessive salt. While salt enhances flavor and strengthens gluten, too much can slow down or even inhibit yeast activity.
🧂 Salt strengthens gluten but too much slows yeast.
🚫 Don’t put salt directly on yeast—it can shock it.
🎯 Accurate measurements balance flavor and rise perfectly.
Salt draws water away from yeast cells, reducing their ability to feed and produce carbon dioxide. Without enough gas, the dough cannot expand properly, resulting in dense, compact bread. Even small deviations from the recommended amount can noticeably affect rise and texture.
How you mix salt into the dough also matters. Adding it directly on top of yeast can shock the yeast and reduce its activity. It’s better to mix salt evenly into the flour before combining it with yeast or liquid to prevent direct contact.
Recipes usually provide precise salt measurements for a reason. While reducing salt slightly may improve rising, it will also change the flavor of your bread. It’s important to maintain a balance that supports both taste and fermentation.
Understanding how salt interacts with yeast and gluten helps avoid common rising issues. Using the right amount and mixing it properly ensures your dough develops structure and rises as expected, producing a light and airy loaf.
Too Much Sugar

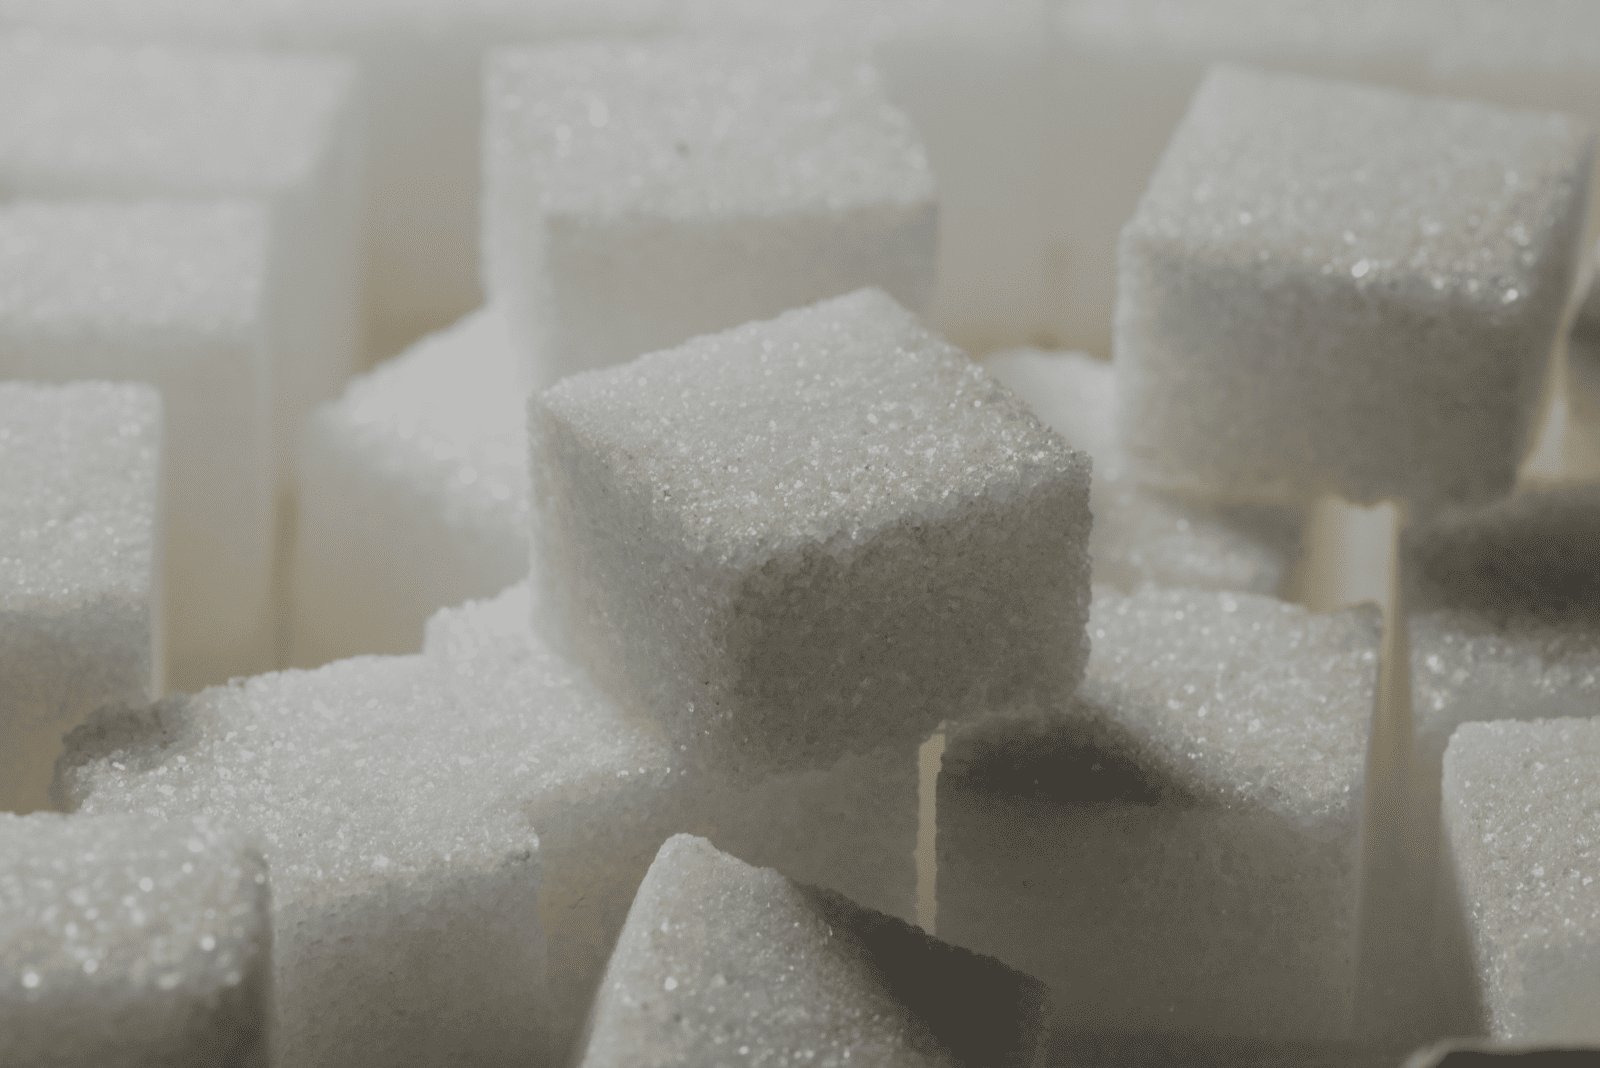
Sugar is often thought of as a friend to yeast because it feeds it, but too much sugar can actually prevent bread from rising properly. Many bakers ask, “why is my bread not rising,” and excessive sugar is frequently the hidden culprit. While sugar enhances flavor and adds tenderness, high amounts draw water away from yeast cells, slowing fermentation.
🍬 Sugar feeds yeast, but too much draws water away and slows fermentation.
🕰️ Sweet doughs take longer to rise—patience is key.
⚖️ Balance sugar for both flavor and a light, airy loaf.
When yeast cannot access enough moisture, it struggles to produce carbon dioxide. As a result, dough rises more slowly or may barely rise at all. This is especially common in rich doughs like brioche or cinnamon rolls, which contain high sugar content. These recipes often require more yeast or longer fermentation times to compensate.
Balancing sugar is key. Standard bread recipes usually call for a moderate amount—just enough to enhance flavor without hindering yeast. Adding too much sugar beyond the recipe’s instructions can create dense, sticky, or overly sweet bread that lacks the desired volume.
Temperature also interacts with sugar levels. In sweet doughs, yeast activity slows naturally, so proofing may take longer even if the sugar is at the correct amount. Patience is critical for sweet bread recipes to allow proper gas formation and gluten development.
Understanding sugar’s dual role—as both food for yeast and a potential inhibitor—helps prevent common rising problems. Using the right quantity ensures your bread develops flavor, texture, and volume without leaving you frustrated by flat or dense loaves.
Environmental Factors

Environmental conditions play a surprisingly large role in how well your bread rises. Many bakers ask, “why is my bread not rising,” without realizing that temperature, humidity, and even air circulation in the kitchen can affect yeast activity and dough development.
🌡️ Cold kitchens = slow rise; warm, draft-free spaces = perfect fermentation.
💨 Drafts dry the dough surface, reducing rise.
💧 Humidity affects dough hydration—adjust water if needed.
Temperature is one of the most influential factors. Yeast thrives in a warm environment, usually between 24°C and 30°C. In a cold kitchen, dough rises slowly or barely at all, no matter how fresh your yeast is. Conversely, overly hot conditions can kill yeast, stopping fermentation entirely. Finding a steady, moderate temperature helps dough rise consistently.
Humidity also impacts dough behavior. Dry air can cause the surface of the dough to crust over, preventing expansion. High humidity, on the other hand, keeps the dough pliable and encourages proper fermentation. Adjusting water content in the dough according to seasonal humidity can help maintain a balanced consistency.
Even airflow matters. Drafty kitchens or placing dough near vents can dry out the surface, slowing rise. Creating a controlled, draft-free space—like covering the dough with a damp cloth or placing it inside a slightly warm oven—helps maintain consistent moisture and temperature.
| Factor | Effect on Dough | Tip to Improve Rise |
|---|---|---|
| Temperature | Cold slows yeast, hot can kill it | Keep dough in a warm, draft-free space (24–30°C) |
| Humidity | Dry air dries dough surface, high humidity keeps it pliable | Adjust water content seasonally; cover dough while proofing |
| Airflow/Drafts | Can dry dough and reduce rising ability | Place dough away from vents or use a damp cloth cover |
| Seasonal Changes | Winter slows fermentation, summer speeds it up | Adjust proofing time and water temperature according to season |
| Light Exposure | Indirectly affects temperature and proofing speed | Keep dough in a consistent, moderately warm location |
Seasonal changes can make a difference, too. Winter often slows yeast activity due to cooler air, while summer may speed it up. Being aware of these shifts allows bakers to adjust proofing time, water temperature, and hydration levels accordingly.
Understanding how your environment affects dough allows you to anticipate problems and take corrective measures. Maintaining warmth, proper humidity, and minimal drafts ensures a steady rise and a light, airy loaf every time.
Using Too Little Yeast
Using too little yeast is a common reason why bread fails to rise, leaving many bakers asking, “why is my bread not rising?” Yeast is the primary agent responsible for fermentation and gas production, so reducing it too much directly limits the dough’s ability to expand.
When there is insufficient yeast, the dough may rise very slowly or not at all. Even if it eventually doubles in size, it often lacks volume and results in dense, heavy bread. Recipes are carefully tested for a reason—small changes in yeast quantity can make a noticeable difference in texture and rise.
Some bakers experiment with minimal yeast for longer fermentation, such as in no-knead or slow-rise breads. While this technique can develop more flavor, it requires extended proofing times. Cutting corners by using too little yeast without adjusting time will almost always lead to flat, underdeveloped loaves.
Proper measurement is essential. Using a kitchen scale or accurate measuring spoons ensures you add the correct amount of yeast for the dough’s weight and type. Even slight inaccuracies can affect the rising process, especially in larger batches.
By using the right amount of yeast and giving it adequate time to ferment, you allow the dough to develop gas and structure properly. This simple adjustment can turn dense, lifeless bread into a light, airy loaf with excellent texture.
🧫 Too little yeast = insufficient gas = dense bread.
⚖️ Measure yeast carefully; small errors impact rise.
⏱️ Slow-rise methods work but require longer proofing times.
Dough Hydration Issues
Hydration refers to the ratio of water to flour in bread dough, and it has a major impact on how well your bread rises. Many bakers wonder, “why is my bread not rising,” when the real issue is often too little or too much water in the dough. Proper hydration allows gluten to form, dough to stretch, and yeast to work efficiently.


If the dough is too dry, it will feel stiff, crumbly, and difficult to knead. Dry dough prevents gluten from developing fully and limits gas retention, which reduces rise. Bread made from under-hydrated dough often comes out dense, heavy, and compact. Adjusting water gradually can help achieve a smoother, more elastic dough.
💧 Too dry = stiff, dense dough; too wet = slack, spreading dough.
🌾 Different flours absorb water differently—adjust accordingly.
🏋️ Proper hydration supports gluten development and yeast activity.
On the other hand, overly wet dough presents a different challenge. Wet or slack dough can spread out rather than rise upward because it lacks the structure to hold its shape. While high-hydration doughs can create open, airy crumbs, they require careful handling and sometimes specialized techniques like stretch-and-fold or using a baking container to support shape.
Different flours absorb water differently which affects dough consistency and rise. Learn which flour works best for your bread in The Best Flour for Bread: A Complete Guide. For example, whole wheat flour and high-protein bread flour require more water than all-purpose flour. Seasonal changes, such as humidity, can also affect how much water your dough needs. Adjusting hydration according to flour type and environment ensures consistent results.
Maintaining proper hydration supports yeast activity, gluten development, and dough elasticity. By balancing water and flour carefully, you give the dough the best chance to rise fully, creating soft, airy bread with a light, open crumb.
Old or Low-Quality Ingredients
The quality and freshness of your ingredients play a significant role in how well bread rises. Many bakers ask, “why is my bread not rising,” only to discover that stale flour, old yeast, or other low-quality ingredients are the culprit. Fresh, high-quality flour ensures proper gluten development and better rising dough. For tips on choosing the ideal flour for every loaf, see The Best Flour for Bread: A Complete Guide.
Flour is one ingredient that can lose effectiveness over time. Old flour may have degraded proteins, which weakens gluten formation. Weak gluten cannot trap carbon dioxide efficiently, resulting in dense, flat bread. Using freshly milled or recently purchased flour helps maintain structure and rise.
Yeast is another ingredient that degrades with age. Expired or improperly stored yeast loses its ability to produce gas. Even if it looks normal, old yeast may fail to activate fully, leaving your dough sluggish and flat. Always check expiration dates and store yeast in a cool, dry environment.
🛒 Fresh ingredients = better rise, flavor, and texture.
🌾 Old flour may weaken gluten and produce flat bread.
❌ Expired yeast may look fine but fail during baking.
Other ingredients, like salt and sugar, also affect dough performance if they are low quality or clumped. Poorly distributed salt can inhibit yeast activity, while uneven sugar may create inconsistent fermentation. Measuring accurately and using high-quality products ensures better results.
By selecting fresh, high-quality ingredients and storing them properly, you give your dough the best chance to rise. This simple step can make a noticeable difference in the texture, flavor, and overall success of your bread.
Overhandling the Dough
Overhandling dough is a subtle but common reason why bread fails to rise properly. Many bakers ask, “why is my bread not rising,” when in reality, excessive handling has released the very gas that helps the dough expand. Gentle treatment is essential for maintaining structure and achieving a light, airy loaf.
After kneading and the first rise, dough contains trapped carbon dioxide. This gas gives the dough volume and elasticity. Rough or frequent handling, such as excessive punching down or reshaping, can deflate the dough and damage the gluten network. Once the gas escapes, the dough struggles to rise again.
✋ Excessive punching or reshaping releases gas and reduces rise.
🥖 Handle dough gently to preserve air pockets for better oven spring.
⏱️ Minimize movement after final shaping to maintain structure.
Final shaping is a critical moment where overhandling often occurs. The goal is to shape the dough while preserving as many air pockets as possible. Using a light touch and folding carefully helps maintain internal bubbles, which are essential for oven spring and a soft crumb.
Even experienced bakers can overhandle dough if they are impatient or unfamiliar with the recipe. Tools like dough scrapers and proper techniques can help manage the dough without pressing out gas. Covering the dough while it rests also minimizes unnecessary movement.
Understanding that dough is delicate after fermentation helps prevent overhandling mistakes. Gentle shaping, careful folding, and minimal manipulation allow the bread to retain its structure, rise fully, and achieve the airy texture every baker strives for.
Oven Temperature Problems
Oven temperature is one of the final but most critical factors in bread rising. Many bakers ask, “why is my bread not rising,” when the problem actually lies in incorrect oven conditions. Even perfectly proofed dough can fail if the oven is too hot, too cold, or unevenly heated.
If the oven is too hot, the crust can form too quickly, restricting expansion inside. Yeast activity briefly accelerates at the beginning of baking—a stage called oven spring—but extreme heat can kill yeast instantly, leaving little time for the dough to rise further. The result is a loaf that may look baked on the outside but remains dense inside.
It’s also important to remember that even with the right temperature, your dough needs enough structure to rise in the oven. If the gluten hasn’t been properly developed, the dough may collapse or spread instead of rising, which is why mastering proper techniques like those used when how to knead Sourdough bread can make a significant difference in the final result.
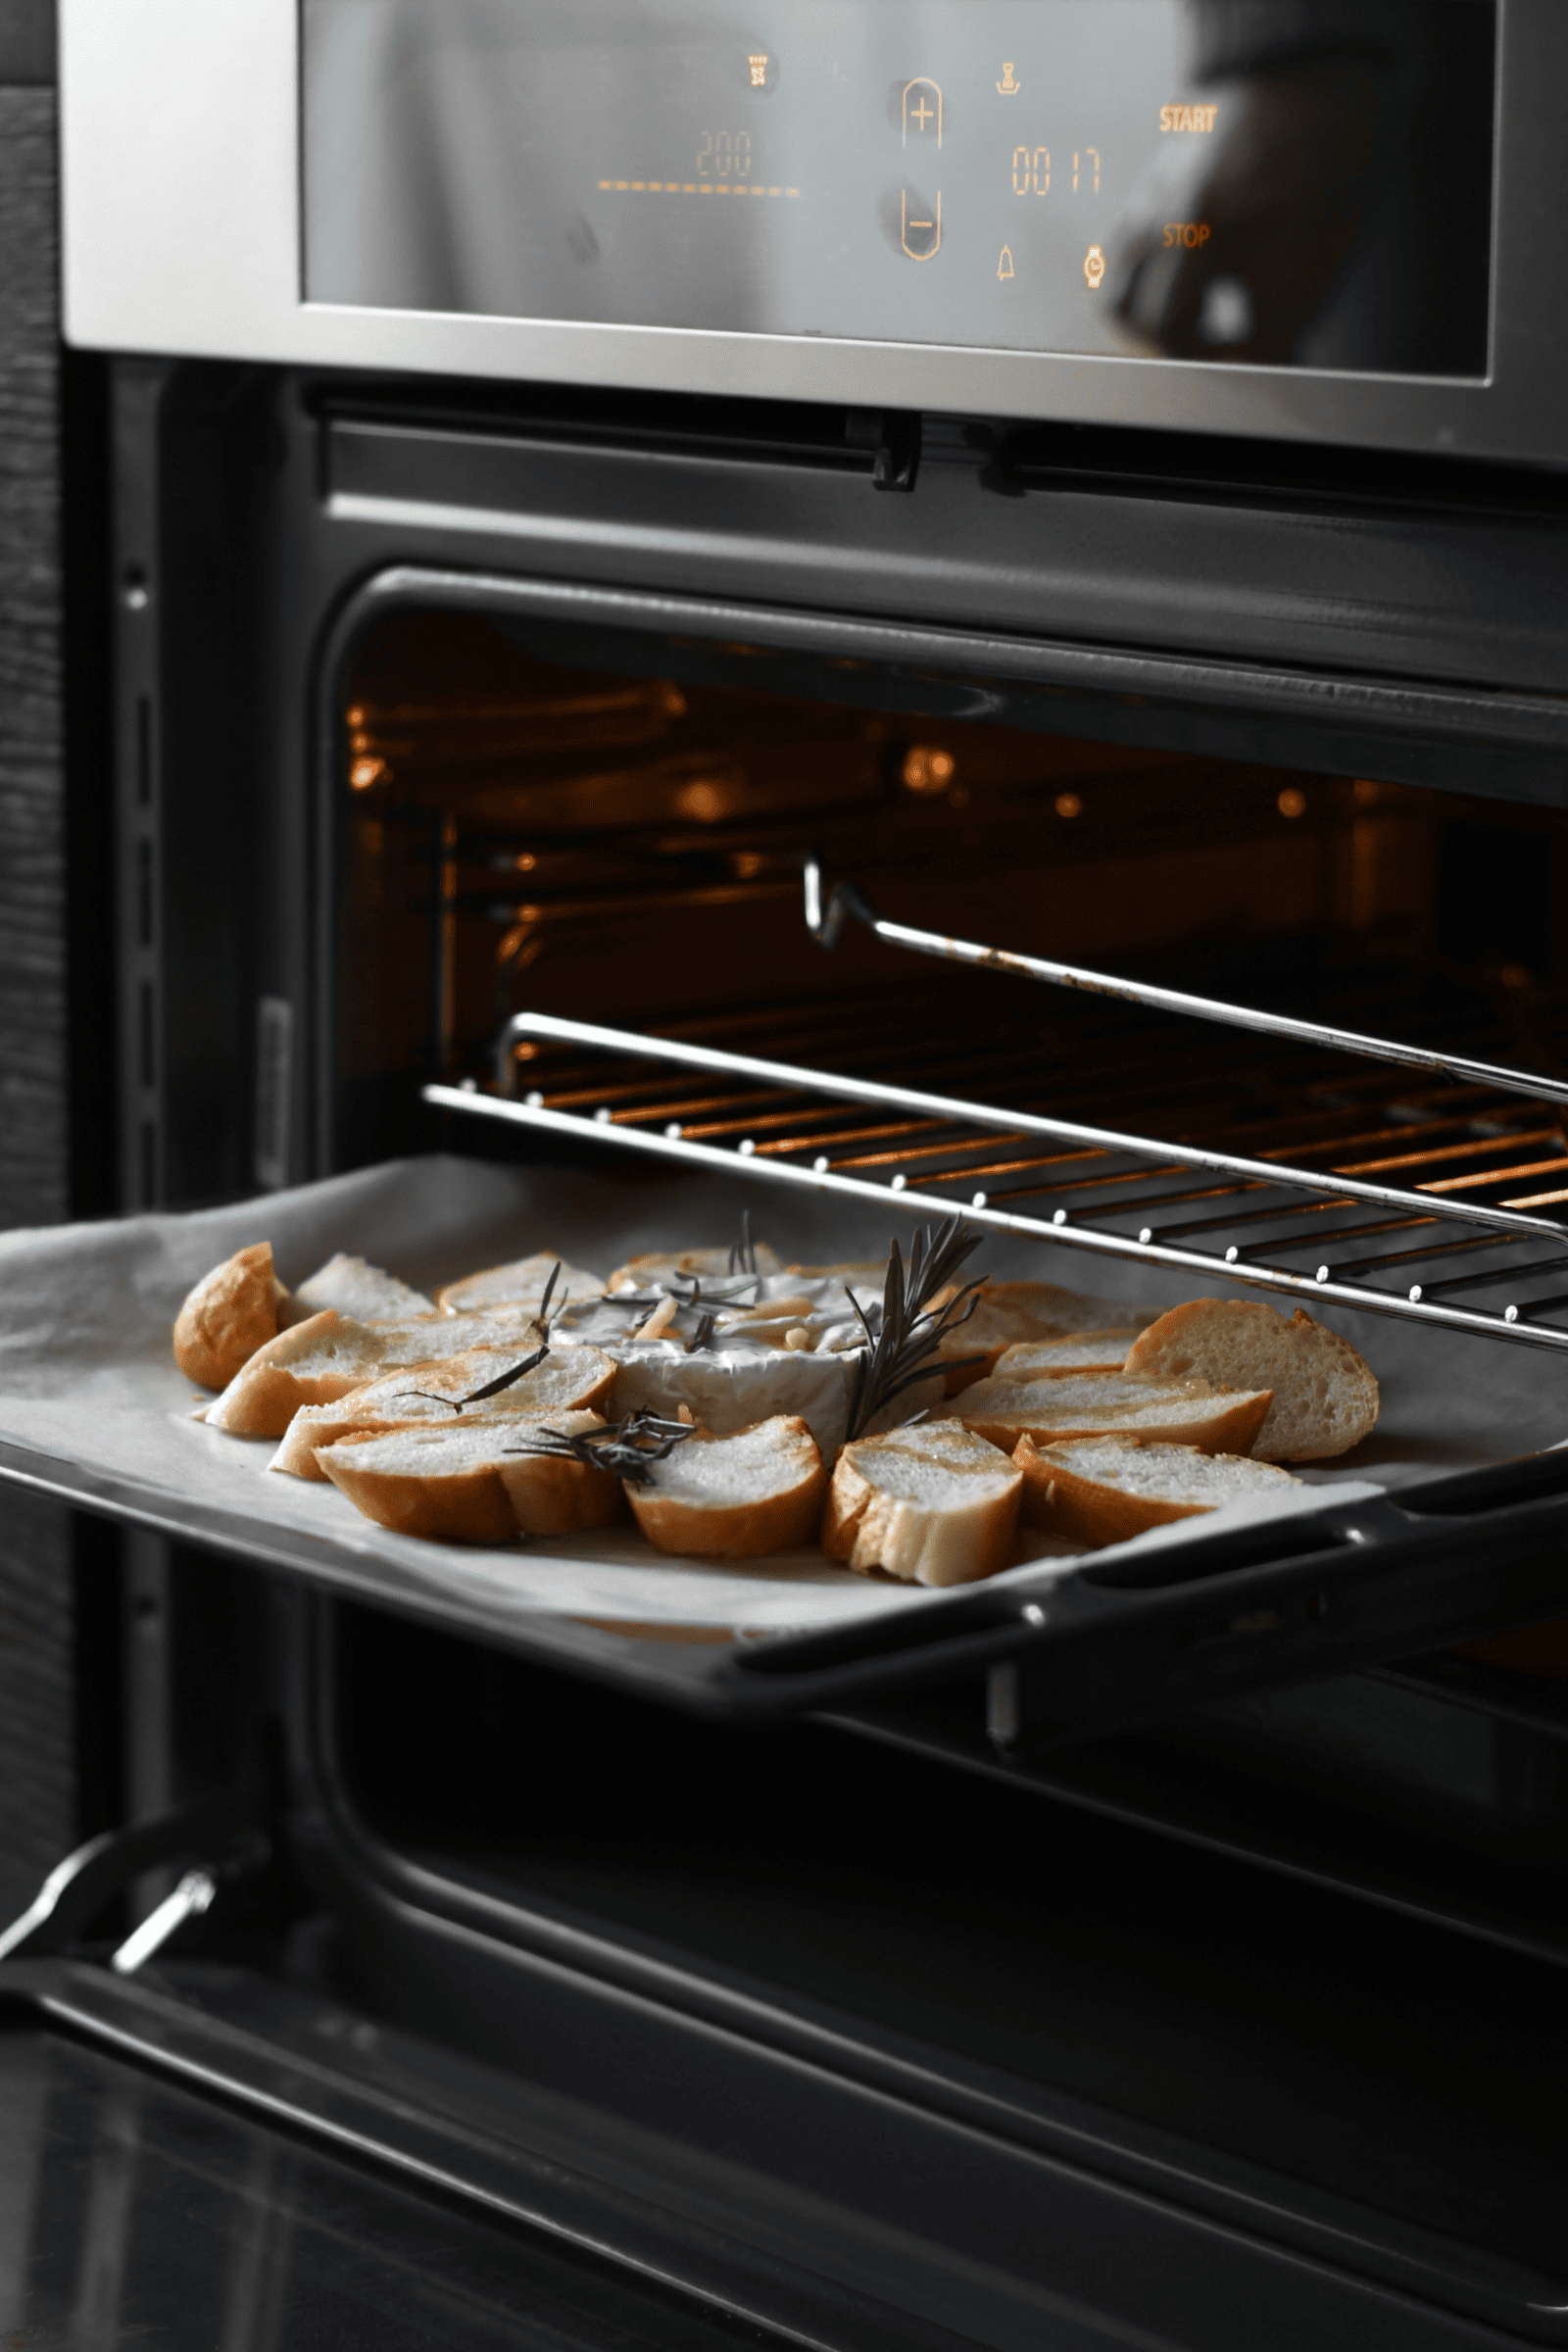
Conversely, an oven that is too cold prevents proper oven spring. The dough may bake slowly, rise insufficiently, and produce a heavy, compact loaf. Preheating the oven fully is crucial, as even small temperature differences can affect how much the bread expands.
Steam also affects the rise. Introducing steam in the first few minutes of baking keeps the crust soft, allowing the dough to expand fully before setting. Many professional bakers use steam pans, spritzing, or covering bread with a lid to create the ideal environment.
Investing in an oven thermometer can prevent unexpected results. Many ovens run hotter or cooler than their settings indicate, and inaccurate temperatures are a frequent cause of failed rises. Monitoring and adjusting the temperature ensures consistent oven spring and an evenly baked loaf.
🔥 Too hot = crust forms too early, restricting expansion.
❄️ Too cold = slow oven spring and dense bread.
💨 Steam in early baking keeps the crust soft, allowing maximum rise.
Properly managing oven conditions—temperature, preheating, and steam—maximizes the dough’s rise and contributes to a light, airy, well-textured bread. Even a perfectly kneaded and proofed dough can fail without attention to these critical details.
Common Mistakes Beginners Make
Baking bread may seem simple, but beginners often face a series of challenges that prevent their loaves from rising properly. Many first-time bakers wonder, “why is my bread not rising,” when the issue is actually a combination of small mistakes rather than one major problem.
One of the most common errors is skipping precise measurements. Baking is a science, and even small deviations in flour, water, yeast, or salt can dramatically affect the dough’s ability to rise. Eyeballing ingredients instead of weighing or measuring them accurately often leads to dense or uneven bread.

Rushing the process is another frequent mistake. Proofing and fermentation require patience. Dough needs time to develop gas and structure; cutting corners results in underdeveloped gluten and poor rise. Beginners may also overproof without realizing it, leaving the dough too weak to hold its shape in the oven.
Temperature mismanagement is a third issue. Cold environments slow yeast activity, while excessively hot conditions can kill yeast entirely. Many new bakers fail to account for kitchen temperature or water temperature, both of which are critical for proper fermentation.
Using the wrong flour or yeast type is another common trap. All-purpose flour may not provide enough protein for strong gluten formation, and expired or improperly stored yeast can reduce or stop rising altogether. Following the recipe exactly is essential for consistent results.
📏 Skipping measurements leads to dense or uneven bread.
⏳ Rushing proofing or overproofing = poor structure.
✋ Gentle shaping, correct temperature, and patience = beginner’s best friends.
Overhandling dough is a subtle mistake often overlooked. Beginners tend to punch, fold, or shape dough too aggressively, deflating the trapped gas that helps the loaf rise. Gentle handling preserves structure and maximizes oven spring.
Finally, failing to monitor proofing visually rather than by time alone can lead to problems. Dough doesn’t always rise at the same rate in different environments. Observing size, texture, and elasticity is more reliable than simply following the clock.
By understanding and avoiding these common mistakes, beginners can improve their bread-making significantly. Attention to detail, patience, and careful observation allow even novice bakers to produce light, airy loaves consistently.
Quick Troubleshooting Checklist
When your bread does not rise, check these factors:
- Is your yeast active?
- Did you use the correct water temperature?
- Did you knead the dough properly?
- Did you allow enough proofing time?
- Are your ingredients fresh?
- Did you measure everything accurately?
Answering these questions often reveals the issue.
Frequently Asked Questions (FAQ)
Why is my bread not rising during proofing?
If you are wondering why is my bread not rising during proofing, the most common causes include inactive yeast, cold environments, or insufficient time. Yeast needs warmth and moisture to work effectively. Always proof dough in a slightly warm area and allow enough time for it to double in size.
Why is my bread dough not rising with yeast?
Bread dough may not rise with yeast if the yeast is expired or improperly activated. Water that is too hot can kill yeast instantly, while cold water slows it down. Always use lukewarm water and test your yeast beforehand to ensure it is active and ready to ferment.
How can I tell if my yeast is dead?
You can test yeast by mixing it with warm water and a small amount of sugar. If it becomes foamy within ten minutes, it is active. If nothing happens, the yeast is likely dead and should be replaced to avoid baking dense or flat bread.
Can cold weather stop bread from rising?
Cold weather can significantly slow down yeast activity, which affects how well your bread rises. Dough placed in a cold kitchen may take much longer to proof. To fix this, place your dough in a warm spot, such as an oven with the light on.
Why is my homemade bread dense and heavy?
Dense and heavy bread often results from underproofing, weak gluten development, or inactive yeast. Proper kneading helps build structure, while enough proofing time allows gas to form. Always follow recipe instructions carefully to ensure your bread develops a light and airy texture.
Does too much flour prevent bread from rising?
Adding too much flour can make dough stiff and dry, which prevents proper expansion during fermentation. This limits the ability of gas to stretch the dough. Measure flour accurately and adjust hydration levels carefully to maintain a soft and workable dough consistency.
Can I still bake bread that did not rise?
You can bake bread that did not rise, but the result will likely be dense and compact. If possible, try to revive the dough by giving it more time in a warm place. In some cases, adding fresh yeast can help restart the fermentation process.
Why is my bread not rising in the oven?
If your bread is not rising in the oven, the issue may stem from poor proofing or incorrect oven temperature. Proper oven spring requires high heat and well-proofed dough. Always preheat your oven fully and ensure the dough has risen sufficiently before baking.
Does salt affect bread rising?
Salt plays an important role in controlling yeast activity, but too much can slow or inhibit fermentation. High salt levels draw moisture away from yeast, reducing its effectiveness. Always measure salt carefully and avoid direct contact with yeast during mixing.
How long should bread dough take to rise?
Most bread dough takes one to two hours to rise, depending on temperature and yeast activity. Warmer environments speed up the process, while cooler conditions slow it down. Instead of relying only on time, look for the dough to double in size as the best indicator.
Final Thoughts
Bread baking combines science and art. Each step affects the final result.
If you keep asking, “why is my bread not rising,” focus on fundamentals. Check yeast, temperature, and timing first.
Small adjustments can transform your results. Practice helps you understand how dough behaves.
Once you master the basics, rising problems become rare. Your bread will turn out soft, airy, and satisfying.
Stick with it, and your next loaf will rise beautifully.
Amazon and the Amazon logo are trademarks of Amazon.com, Inc, or its affiliates.